Import Liberia UNMIL Places Workflow
In this wiki we will:
- present the general import rules in OSM, then the data itself and the tool set to make the import.
- describe step-by-step a workflow to make the import, with screenshots and tips.
Presentation
Import rules in OSM
The data from the United Nations Mission in Liberia (UNMIL), considering its high accuracy, is to be imported into OSM and consequently, needs to follow the guidelines of any to-be-imported dataset.
The dataset has been analyzed, the attributes have been converted into tags, presented and validated to the imports mailing list.
Any import must be done through a specific OSM user account. So the advice is to create a new OSM user account (eg the usual name with _import at the end) from a secondary email address.
The UNMIL data for Liberia
This data consists of 14,020 place nodes for all Liberia territory. Around and estimated 80% of the nodes correspond to hamlets, and therefore they are pre-tagged as place=hamlet so as only 20% of the nodes will have to be changed in their place=* value.
During the import we will put changeset tags that indicates the source. Nonetheless, it is useful to keep the source tag for each object as the changeset information is not forcefully got from any OSM extract tool and UNMIL could be disappointed not to be mentioned for this data + the metadata can disappear easily once the information is shared and shared, and the source can be a very useful information for people who will work with this data.
An import through the Tasking Manager
Due to the need to merge these data with more than 7,500 place nodes already in the OSM database, and for other reasons, it has been decided to import the data with a control check of each object. An specific HOT Tasking Manager job has been created for this purpose.
They all share the same grid and a specific feature: they propose to load in JOSM the extract of the data to be imported over the area of each task (tile). Consequently, the normal OSM layer is loaded from the Tasking Manager + a layer containing only the UNMIL data for that task tile.
Workflow
The workflow will show:
- first the common steps to start
- then will focus on how to upload the UNMIL data, including the required changeset tags, with your OSM special import account
Note: There may be alternative methods to accomplish the same results. If you are sure and confident, you can use any alternative way to reach the same goals of this import.
Load the data
Before starting, make sure you have the TODO List JOSM plugin installed in your JOSM.
Open JOSM and the Bing Imagery. For the areas where Bing is not available, you can try the following resources:
a) Mapbox imagery, which covers a few areas where Bing does not.
b) If neither Bing nor Mapbox are available, then fall back on the false color LandSat 8 imagery at the tms url below (note that, in this imagery, towns should appear in pink). If you are having trouble with the false color imagery you can access the normal 'visual' color imagery by changing the 753 in the url to 432 to get the normal color bands:
tms[19]:http://imagery.openstreetmap.fr/tms/1.0.0/guinee_c10_l8_pxs753/{zoom}/{x}/{y}
c) You can also add the 1955 US Army Topo Maps. For this purpose, go to JOSM -> Preferences and in WMS/TMS:
c.1) Add http://topo.disasternet.org/? in the first field (Enter service URL)
c.2) Click on the Get layers button.
c.3) Choose the Worlds Tactical Pilotage Maps (Humanitarian Use Only) option and click OK.
Or access 2 sets of Topo Maps with the following TMS URL's:
tms[15]:http://mapwarper.net/layers/tile/150/{zoom}/{x}/{y}.png
tms[18]:http://mapwarper.net/layers/tile/166/{zoom}/{x}/{y}.png
Note that the topographic maps sometimes have a shift which you will need to be aware of, this shift can be as large as a mile or two in some places.
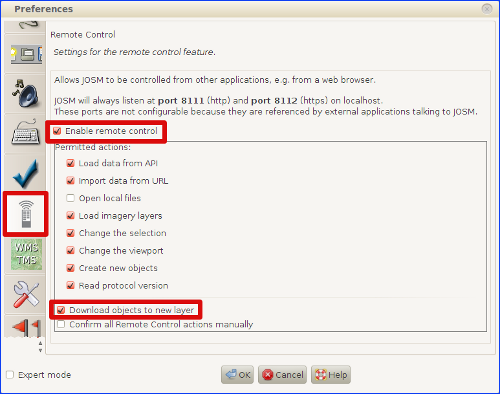
Also, before you do anything, check that you have the remote control enabled and the Download object to new layer box selected in the JOSM preferences:
Let's start now:
1) Click here to access the Tasking Manager for the import job.
2) Choose your task, click on Start mapping button and then click on Edit with JOSM.
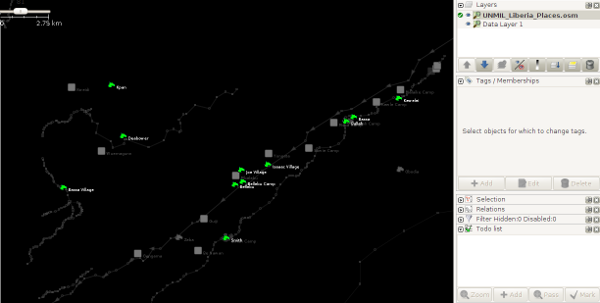
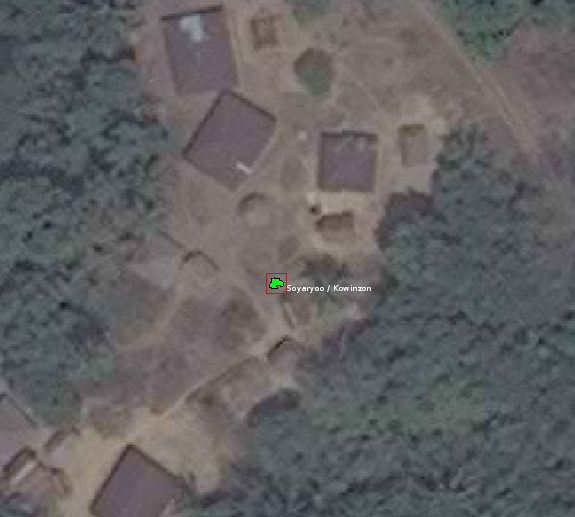
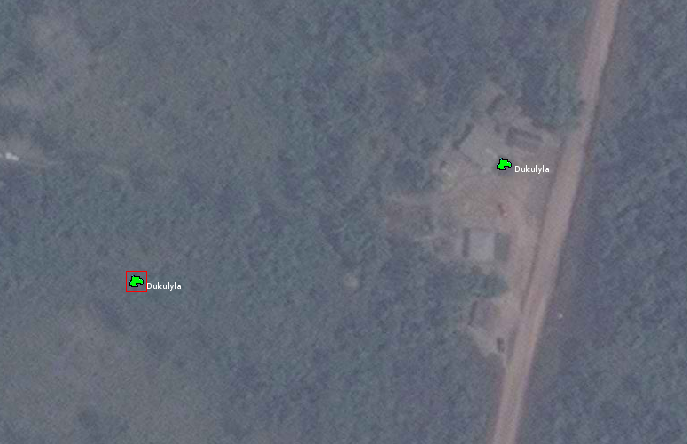
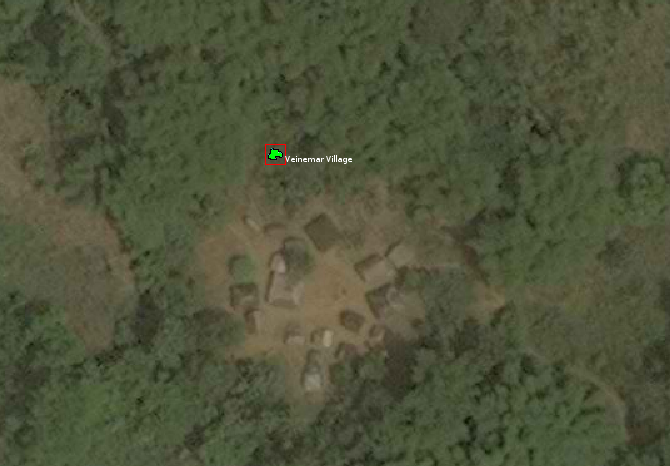
3) Once the OSM data is loaded, click on here in the sentence Import the UNMIL place nodes for Liberia in JOSM by clicking here under the Extra instructions at the bottom of the same page. An UNMIL_Liberia_Places.osm new layer will be loaded. You should get a result as the example shown below:
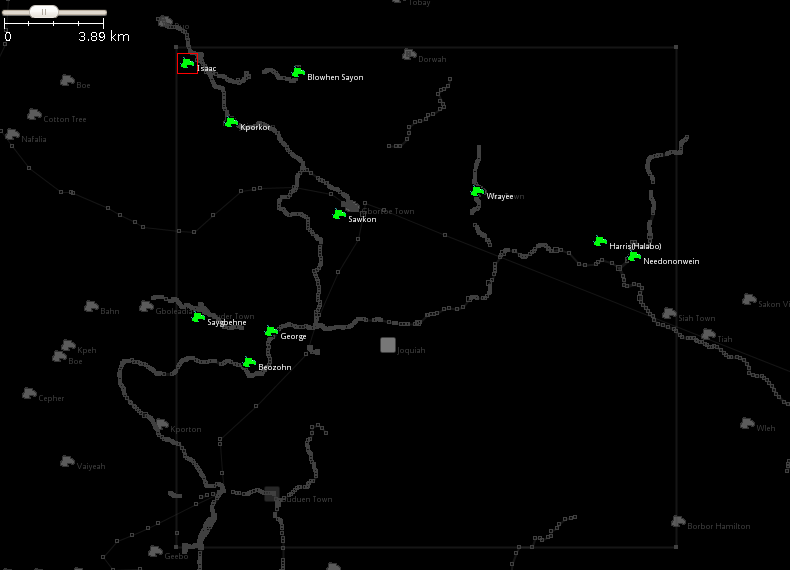
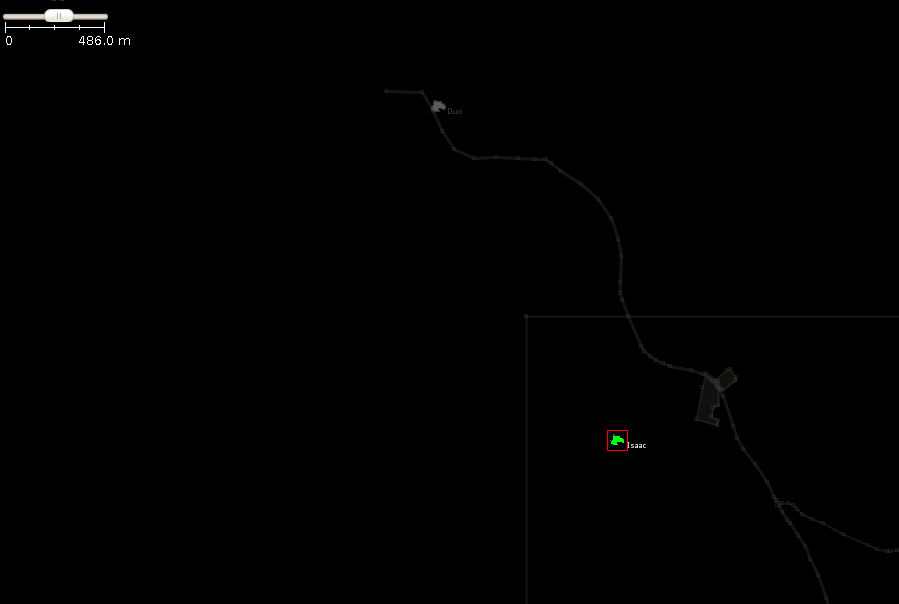
If one or more nodes are very close to the limits of the downloaded area, it can happen that there is/are duplicated nodes both in the OSM database and the UNMIL dataset that you didn't download. See the next example with the node Isaac:
If this is the case for your task, do the following two things:
a) Download from OSM an area around each of those nodes. 2 Km radious would be more than enough.
Merge that new layer with the Data Layer 1.
b) Have the whole UNMIL places file (ALL_UNMIL_Liberia_Places.osm) in a separate layer that you will never merge with any other. You can download the file here.
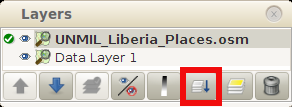
4) Now, merge the Data Layer 1 and UNMIL_Liberia_Places.osm layers:
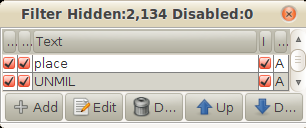
5) To filter the UNMIL nodes from the rest, set a place and an UNMIL and inverse filter both of them:
6) Select all (UNMIL) nodes, and add them to the TODO list, clicking the Add button at the bottom of the Todo list window.
If you feel that it will be more secure changing the default place=hamlet to place=unknown for all the nodes before you proceed to check them one by one, you can do it now. This way, in the unlikely event that you don't check the type of place for a node, it will remain as unknown, instead of hamlet.
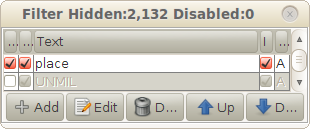
7) Now, unselect the UNMIL filter:
Then, you will go through the nodes, one by one, and click on the Mark button when you finish a node. To check the first node of the list, just double click on it in the list. When you will mark that node as done, you will be automatically taken to the next one.
8) You are now ready to start checking the UNMIL data for the task (tile) of your choice.
Checking the UNMIL nodes and merging them with the OSM data
As of 13th September 2014, there are 7,510 place nodes and 113 place ways in the OSM database within Liberia. So they amount to nearly half the number of UNMIL nodes, and many of them will be duplicates of the UNMIL nodes that we will have to conflate manually.
Location
The location of the UNMIL nodes is correct for a majority of the nodes. Generally speaking, when merging duplicated nodes, we will take the UNMIL nodes locations as reference.
If the location of the node is suspicious, and we can't determine what its real position is, we will leave it in the original location and add to the node a fixme=Location approximate on the node tag.
Place type
Around 80% or more of the nodes correspond to a hamlet settlement. For those nodes that don't fit as place=hamlet, you will have to change them manually, upgrading them to place=village, place=neighbourhood, place=town, place=suburb or place=city, or downgrading them to place=isolated_dwelling. In case we don't know which kind of place the node is (due to lack of high resolution aerial imagery, presence of clouds, etc.), we will retag it as place=unknown and write a fixme=* tag.
Spelling
First of all, we will check if the name of the place is spelled correctly and it respects the cartographic writing conventions.
With very few exceptions, each noun of the place must have its initial letter in capital and subsequent letters non-capital, like for example Kumah, Gorbo Jellue and Bitter Ball Camp. You should delete double spaces too.
The are around 300 nodes that have a slash / in their names. In this case, we will make sure there is an space before and after the slash.
There are 39 nodes that include an & in their name=* tag. In many cases, the & means and and should be changed to and, but even if we leave it as &, we have to make sure they have an space both sides.
There are 196 nodes with a #, most of them in the name=* tag, but some others have it in the is_in:clan=* tag, like Marbo #2 and Neezonnie #1. Most probably the meaning here is number. We will leave the # unchanged, but assuring there is a space before the # and none after. So Marbo #2 would be correct, and Marbo # 2 incorrect.
There are 433 nodes with parenthesis. The rule here is space before and no space after the (, and no space before and space after the ). Edward Peal Camp (Old) is correct, but Honeyahun(4) and Bennehglay( Leadopoep would be both incorrect (the later lacks the closing parenthesis too).
Sometimes, some names seem to be truncated at the end. For example, those that end with Village are sometimes truncated in Vi or Villa. In these cases, we should complete those names, and complete any abbreviation in general.
If you are not confident with the name of a node, add a fixme=Confirm name tag to the place node along with a note=* tag to indicate why you are not confident about the name.
Duplicated nodes
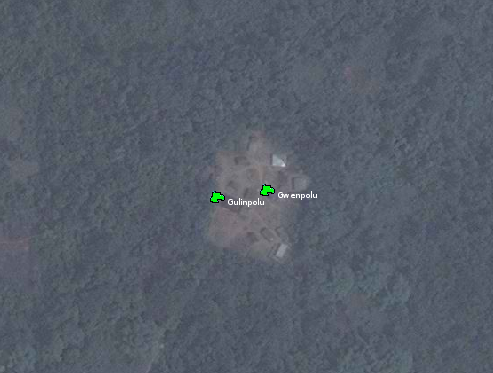
The UNMIL file contains some pairs of identically named, close to each other, nodes.
They seem to differ in the clan they belong to. In this case, we will delete one of the nodes, place the other in the correct position (if we can and need to) and delete the is_in:clan=* tag.
In other cases, we have the same pair of nodes but with different name.
In this case, we will delete one of the nodes, place the remaining node in the correct position (if we can and need to) and transfer the name as alt_name=* to that node. As with the previous case, if their is_in:clan=* tag is different for both of the nodes, we will also delete the is_in:clan=* tag. In all this cases, we will keep the unmil:id=* values of the two nodes (the node we keep and the node we delete) and place them separated by a ; in the unmil:id=* of the resulting node, like for example unmil:id=LBR12036;LBR12137.
We won't make any change in the name=* of any node with its name ending in Village, Town, Camp, Farm, etc.
Bear in mind that many hamlets are named with Village at their end, for example, and this should never make us change the place=* value.
GNS nodes
Most of the place nodes we will encounter in the OSM database are from the GNS database (5,341 out of 7,510).
When finding a duplicated GNS place node already in the OSM database, we will proceed the following way:
1. If the name of the GNS node is the same as the UNMIL one, we will add the GNS source to the source tag of the UNMIL node ( source=UNMIL;GNS ) and then merge both nodes with the Merge tool (M), moving the resulting node only if needed.
2. If the GNS node name is different to the UNMIL counterpart, we will move the GNS name=* to alt_name=* in the GNS node, add the source:alt_name=GNS tag to that node, and then merge with Merge tool both nodes, moving the resulting node only if needed.
Other non-GNS nodes
If the node has the source=survey tag, we will then keep the OSM node name=* as main name, and put the UNMIL one as alt_name=*. For other cases, use common sense, and write a fixme=* or note=* tag, if needed.
In case of doubt, we won't make any change to the name and we will add a fixme=* tag or note=* tag, and leave a remark on the comments window that pops up when marking the task as done in the HOT Tasking Manager.
The nodes inside big towns and cities have to be retagged as place=suburb or place=neighbourhood, depending on the extension.
Nodes that are refugee camps should have the refugee=yes tag added.
For any further questions, you can seek help in the HOT mailing list or in the HOT IRC channel.
Upload the data to OSM
We will follow these steps:
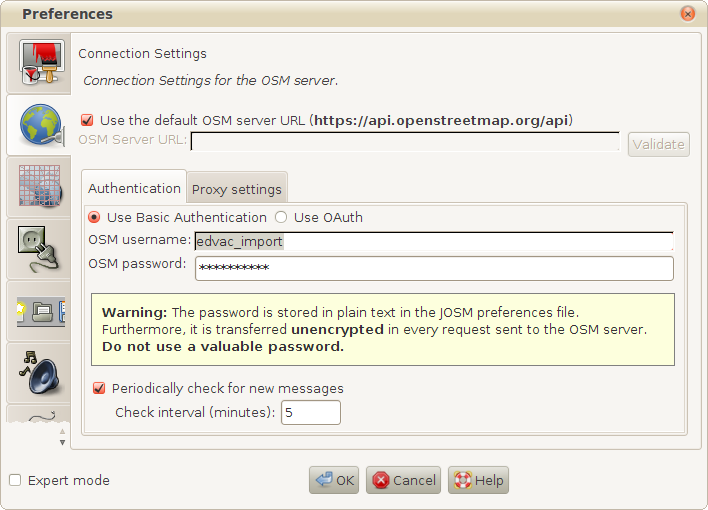
9) Go to the JOSM -> Edit -> Preferences... and change the user and password to the special import user in the Connection Settings section.
10) Once you have done this, we can proceed with the upload. Press the JOSM upload button, resolve any error or warning that may arise from the validator and, before we click on the Upload Changes button, we have to add the following changeset tags under the Tags of new changeset tab:
- comment=UNMIL Liberia places import, #hotosm-task-652
- created_by=JOSM/version
- source=UNMIL
- import=yes
- url=https://wiki.openstreetmap.org/wiki/Import_Liberia_UNMIL_Places
11) It is done now. You can mark the task as done in the Tasking Manager, leave the comments in the pop-up window and take another task to import more data!
Don't forget to switch to your regular OSM account when finished, so you don't do any other mapping with the import specific OSM account you were using for this import. It's a quite common mistake!
