User:Marek kleciak/Seamless Textures
Definition
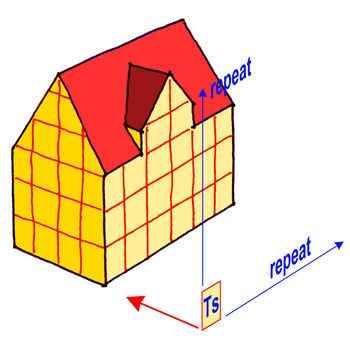
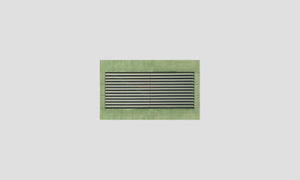
SeamlessTextures are textures which can be replicated in the x or y direction to create a continuous surface where the repetition is not / hardly visible. The goal is to cover a large area with a relatively small picture.
Example: House with brick wall. The building surface is the sum of small, identical repeated surfaces (Ts).
Use
Seamless textures will be used for the surfaces of 3D models in OpenStreetMap.
The seamless textures are designed for use with simply 3D building models.
In case of unique, very important buildings or other 3D objects (bridge) use phototexures.
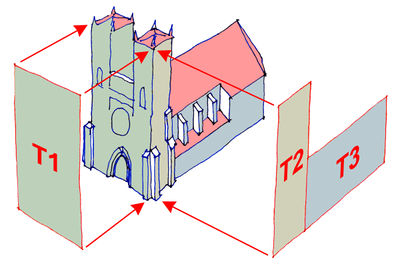
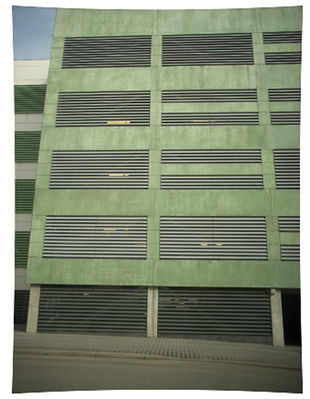
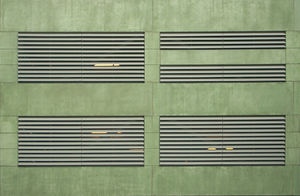
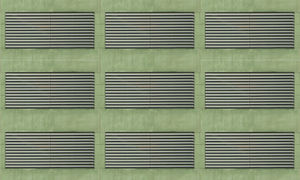
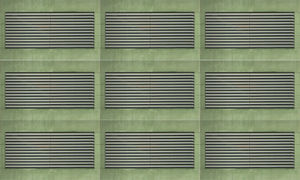
You can see below the difference between phototexture (big) and seamless texture (small). In this case you can use big, unique pictures ( T ) for each facade.
OSM software with texturing support
(Please add the list of other 3D editors here!)
Making of
Sources
Raw material for making of seamless textures are (the best are orthogonal made) digital pictures.
Rule for selecting suitable images
See wiki page: [1]
Workflow
Rectification of the image distortion
The aberration of a lens depends on its focal length.
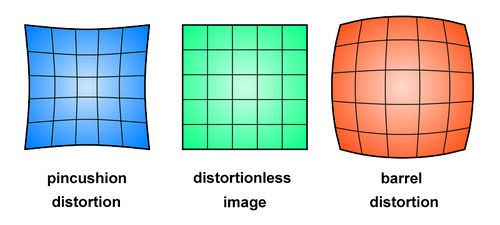
Commonly available lenses generate a barrel distortion that depends on the focal length: the wider the angle, the bigger the distortion.
Textures with a significant horizontal and / or vertical structure should therefore be made with a lens with a minimum focal length of 80mm.
Although the distortion correction can be done in some image editing programs, it requires some experience in image processing.
In simple cases: ShiftN 3.6 - is fairly easy if you choose the "Automatic" mode. You may need to rotate the image through 90° before and after working on it with ShiftN. Afterwards, "barrel distortion" can be corrected for manually.
See also under useful links for freeware for lens distortion correction.
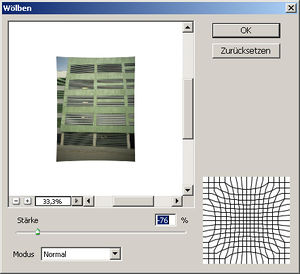 Hier: AdobePhotoshop, Filter -> Verzerrungsfilter -> Wölben
Result:
Attention: der Grad der Entzerrung mit diesem Filter (Eingabe des Wertes im Dialogfenster) hängt von dem Weitwinkel des Objektivs.
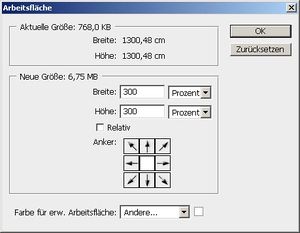
Um ein Bild erfolgreich zu entzerren muß die Bild-> Arbeitsfläche -> Neue Größe auf 200% in Höhe und Breite angehoben werden:
Tut man es nicht, sind die entzerrten Linien keine Geraden.
Correction with Adobe Phtoshop lens correction filter
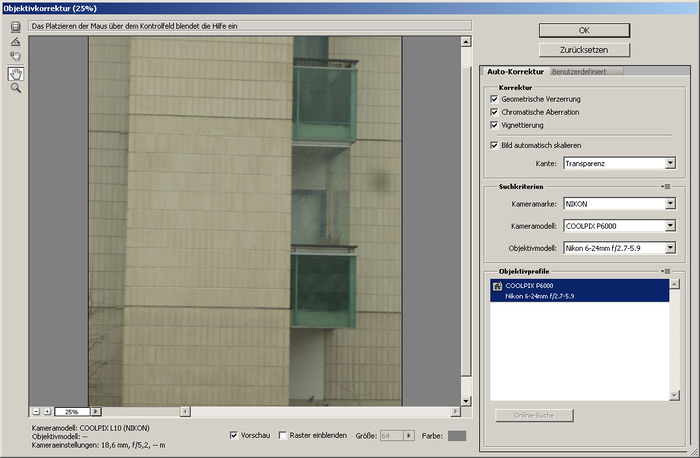
Eine komfortable Möglichkeit für Adobe Photoshop User bildet der Filter Objektivkorrektur (Umschalt+Strg+R) Man kann dort Parameter der Kamera und Objektives eintragen, wodurch die Bearbeitung wesentlich erleichtert wird:
Correction of perspectivity
An image with removed lens distortion, can be now corrected in the perspectivity:
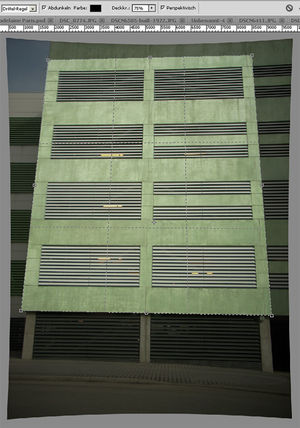 Manual selection of the area for the distortion correction.
The surface is converted to a square.
To get an accurate result use for convertion the largest possible (good visible) area.
Aus der entzerrten Fläche wird ein Rechteck ausgeschnitten in dem sich der Abschnitt mit der gewünschten Textur befindet.
Fine-tuning
Das Bild muß unter Umständen Gedreht bzw. Verzerrt werden damit die horizontalen und vertikalen Linien auf dem Bild tatsächlich horizontal und vertikal verlaufen.
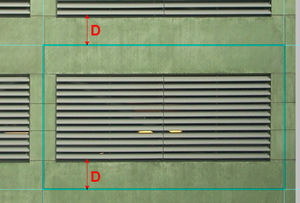 Ergebnis nach horizontal-vertiklaer Entzerrung mit der Photoshop Funktion "verzerren"
Generating of "seamless" edges
Verschiedene Bildbearbeitungssoftware wie z.B. Gimp unterstützen die sog. Stempeltechnik.
Die Idee - mit einem Bildausschnitt kann in dem anderen Bildausschnitt gemalt werden:
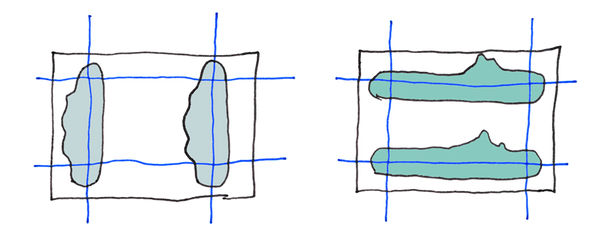
Da die besten Ergebnisse für Texturen manuell erzeugt weden können, kopieren wir zunächst eine vertikale Bildseite auf die andere Seite - von links nach rests oder umgekehrt- jenach dem Bild.
Das Gleiche tun wir auch mit dem horizontalen Bereich.
Die blauen Linien auf den Skizzen sind die ZUKÜNFTIGEN Außenkanten der Textur NACH der Zuschneidung des Bildes auf die gewünschte Größe.
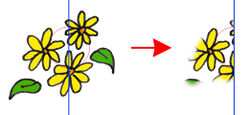
Tipp: Benutze nur Stempel mit einer weichen Kopierkante:

Example: hier wurde mit dem oberen Bildausschnitt in dem unteren Bildausschnitt gemalt

Example: hier wurde mit dem linken Bildausschnitt in dem rechten Bildausschnitt gemalt 
Removing of characteristic details
Cutting of the picture along the guides (on the sketch above BLUE lines):
quality control
Thze quality of a the new seamless texture we can only conclude by repeating.
The simplest method for this is: Arbeitsfläche (nicht Bildgröße, nicht die Auflösung) auf 300% horizontal und vertikal erhöhen.
Die Textur nach links und rechts von dem Bild in der Mitte kopieren.
Die erzeugten Kopien lassen erkennen, ob das Ergebnis nahtlos aussieht.
Possible errors
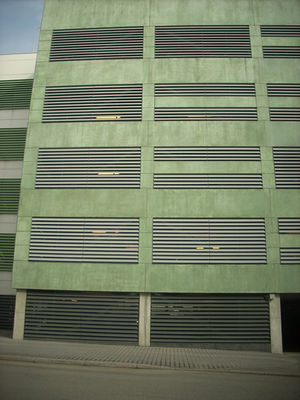
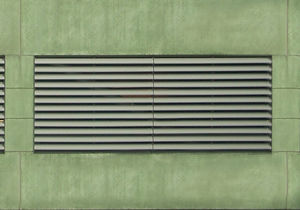
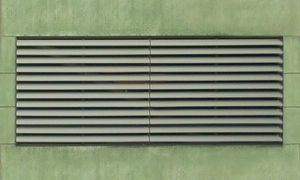
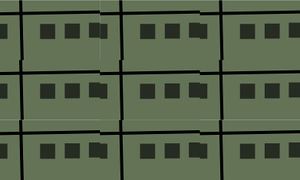
If the result looks like in examples below, you should continue your work on the texture..
- Unintended gradient
- Rectangular elements inclined
Other tips
Repeatable small textures (e.g wall, brick) looks not good when you use for the texture only 2 x 2 elements.
The number of 7 x 7 elements can by the human brain usually not be recognized as repeatable - the texture looks better.
Useful Links
- Gimp Tutorial (in German) about making seamless textures: [2]
- At the moment not implemented, but interesting to know: Tutorial:Normal Map Photography
- Freeware for correction of lens distorsion [3] (recently only in polish and english language but obviously in handling)
