Zh-hans:Go Map!!
| Go Map!! | |
|---|---|
| 作者: | Bryce Cogswell |
| 执照: | ISC License (免费) |
| 平台: | iOS 10.2 / iPadOS 10.2 / macOS 11.3 或更新 |
| 版本: | 3.1.0 (2021-10-15) |
| install |
|
| 源代码: | https://github.com/bryceco/GoMap |
| 编程语言: | Objective-C、Cocoa和Swift |
|
iOS上的OSM编辑器,可添加POI,编辑节点和路径,支持线下编辑,撤销和重做,复制粘贴标签,将路径变为直线或圆形或方形,以及其他更多功能。 | |
Go Map!!是一个iOS上的OSM编辑器。它支持编辑节点,路径以及标签。了解更多
你可以免费在App Store里下载它。
请到这里反馈错误。
适配性
- iPhone
- Requires iOS 10.2 或更新
- iPad
- Requires iPadOS 10.2 或更新
- iPod touch
- Requires iOS 10.2 或更新
- Mac
- Requires macOS 11.3 或更新
特点
- 快速添加POI
- 编辑节点,路径和区域
- 追踪你的位置及方向
- 新建,上传及下载GPX轨迹
- 必应卫星图像(过于陈旧)以及Mapnik背景图
- 支持自由编辑标签
- 从iD引入预设标签
- 支持撤销/重做
- 线上或线下无缝对接
- 查看某一要素最后被编辑的时间以及谁编辑了此要素
- 发现附近其他编辑者
- 使用Nominatim搜索地点
- 复制粘贴标签
- 新建及解决笔记
- 旋转地图以及简单的3D效果
- 完全免费
屏幕截图
Walk Through
When you first start Go Map!! it will prompt to use your device's GPS to determine your location. Say "allow" and it will zoom to your position and download the satellite and OpenStreetMap data near you. If you live in a densely mapped area it may take a few moments to download, and if you live in a sparsely mapped area you may need to zoom out a bit to see details. Simply pinch to zoom and drag to pan around your immediate neighborhood. Go Map!! automatically downloads additional data as needed as you scroll around your location.
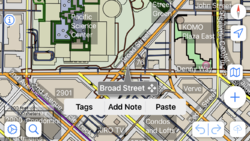
OpenStreetMap uses the term 'node' to describe simple points, which typically indicate smaller objects like trees or small shops, while 'ways' are larger objects with size, such as highways or buildings. Go Map!! indicates a node with an icon or a small square, while ways are displayed as lines, rectangles or polygons.
Adding tags
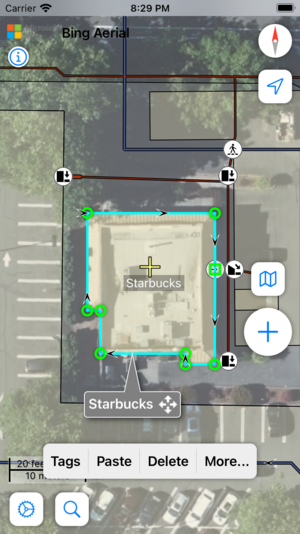
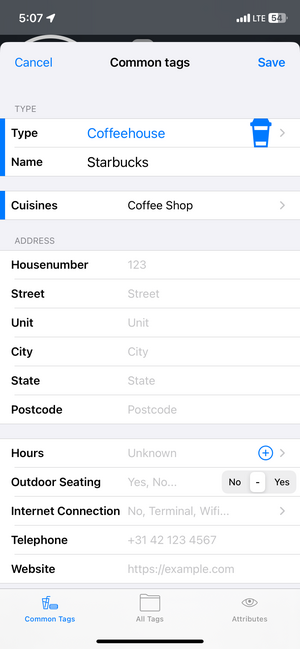
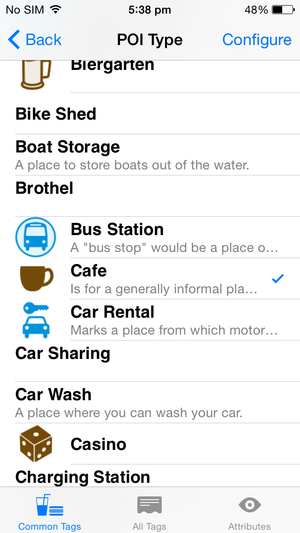
Tags are used to describe objects in the OpenStreetMap database, such as indicating that a location contains a shop or restaurant and what it's name is. To select an existing object, either a node or a way, simply tap it. To select a building you must select a wall rather than the center. Selected objects are highlighted in yellow and display a title (gray box) and a configuration button (blue triangle). Press the configuration button to view and edit tags. The tag editing screen presented has three tabs of views. The first view (Common Tags) presents fields for adding common points of interest:
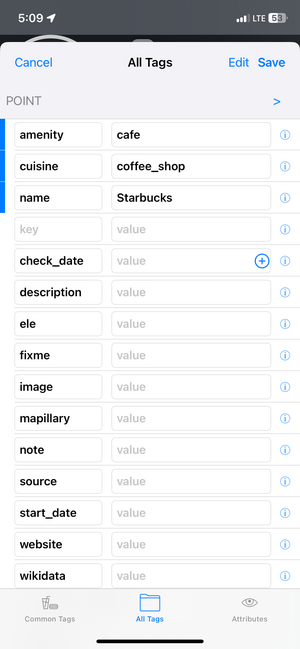
The second tab screen allows advanced users to add arbitrary tags and values:
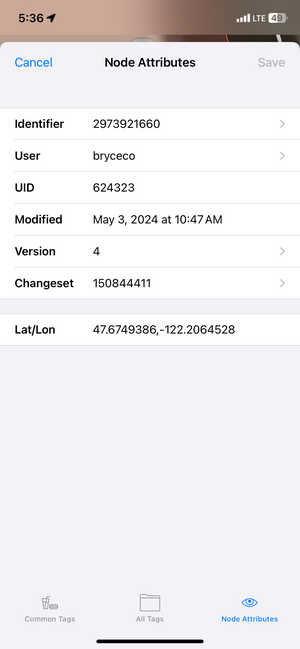
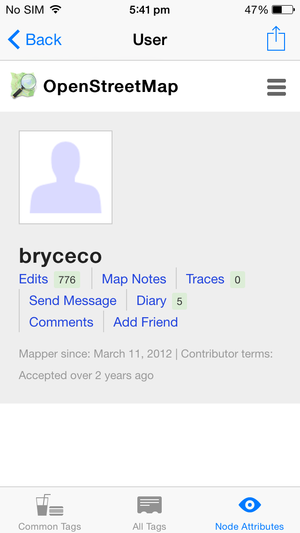
The third tab screen shows metadata about the object: who created it and when, and additional low-level details. From this screen you can also drill down to information stored on the OSM server about the user, change set, object history, and object details:
- Identifier → object page
- User → user page
- Version → object history page
- Changeset → changeset page
Move a node, a way, or a node in a way
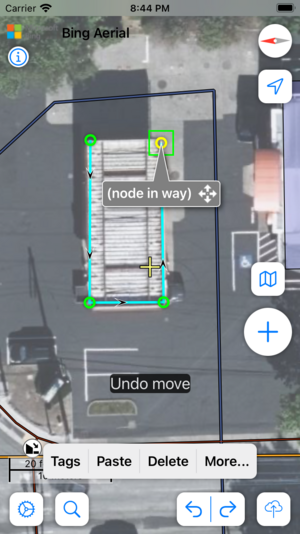
To move a node or way tap to select it, and it will be highlighted in yellow. To select a node that is part of a way first select the way, then tap a node in it. Once selected drag the title box (gray box) to move it to a new location. Confirm the move if prompted. If you make a mistake use the Undo button, or simply move it back.
Create, move and tag a POI
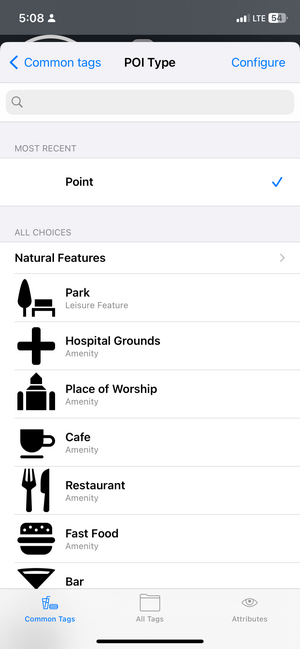
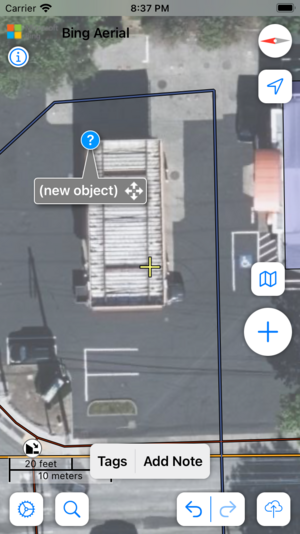
To create a new node or point of interest tap the "+" button. A pin will drop indicating the position of your new node. Drag it (using the title bar) to the correct location, then press the configuration button (blue triangle) to add tags. If you don't add any tags then your new node will be discarded, so if you drop a pin by accident simply tap elsewhere and it will disappear.
Add a node to a way
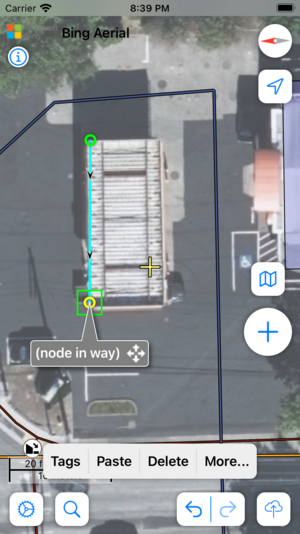
If you wish to add nodes to a way there are two approaches, depending on whether you are adding the node to the middle of the way or extending it at either end. To add a node to the middle of a way: Select the way by tapping close to the position where you want the new node to appear, then press "+". A node will be added at the selected location. To append a node to the end of a way first select the way, then select a node at either end, then press "+". A new node will be added to the start or end of the way.
Create a way
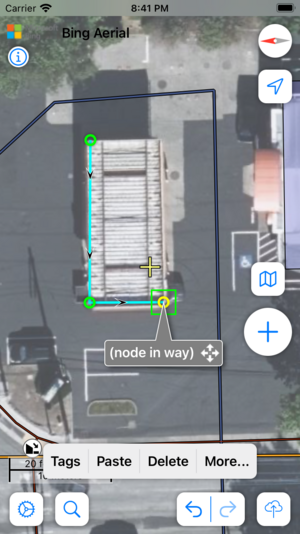
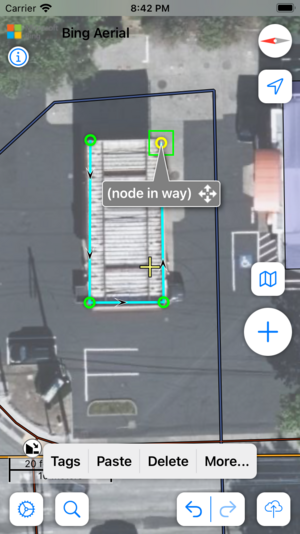
Creating a new way or area is similar to creating a node, except you press "+" twice. On the first press a pin will drop which you can position as desired, then tap "+" again to add a second, connected node. Position the second node and continue pressing "+" to add additional nodes. To create an area simply drop a final node and then drag it on top of the first node. A circle of dots will indicate that it is joining to the existing node. You can also join to existing ways by dragging over them.
Undo, redo
Any time you make an error you can use the undo button to reverse your changes. All actions including tag changes can be undone, or redone, even if you exit the app and restart later. After uploading to the server all undo actions are discarded! You cannot undo after uploading.
Locate landmarks
Press the GPS button to zoom to and track your current location. Press it again to turn off GPS.
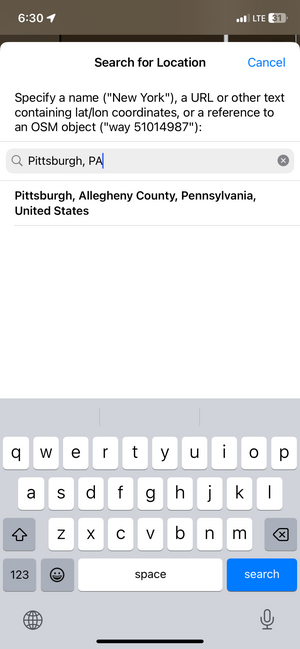
Press and hold the GPS button to perform a Nominatim search of places or landmarks you wish to zoom to.
Selecting specific ways when they overlap or are in relations
You can press long on a way and then select the specific way or relation from the list that pops up. This is also useful for adding nodes into existing ways (after this, hit "+").
Upload changes
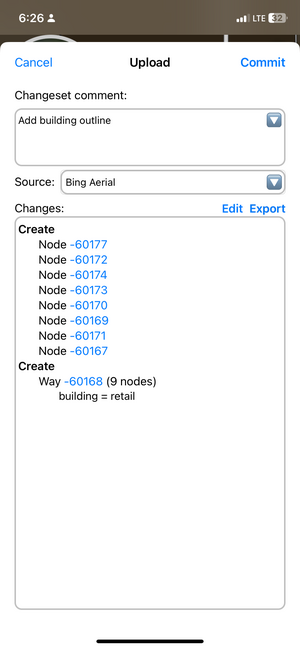
When you are finished making your changes to the map you can submit your changes to the OpenStreetMap server by pressing the upload (cloud) button. If the change is uploaded successfully you will simply be returned to the map screen. After uploading you cannot undo to a previous state; all changes are final. If your upload fails because of a version conflict or other reason you can email the OSM change file ("osmChange.osc") to yourself to fix the problems offline.
You must have a username and password registered at www.openstreetmap.org to upload changes, and have your username and password configured on the Settings|Credentials screen.
Settings and miscellaneous
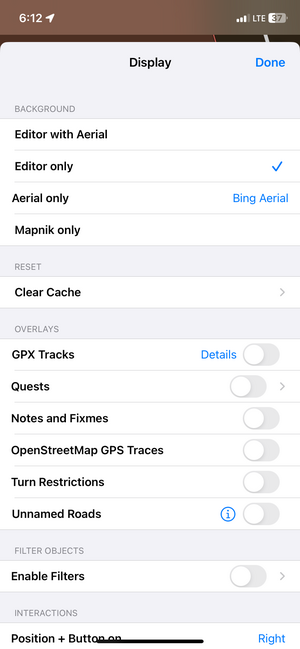
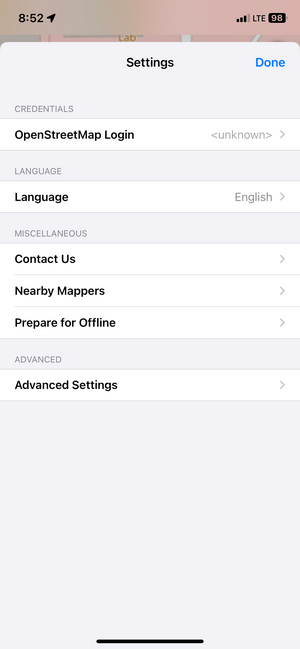
The settings button allows you to configure various aspects of Go Map!!. You can change the background to show just the editing layer, the editing layer plus Bing aerial photography, just Bing or just Mapnik (OpenStreetMap's default map rendering engine).
Use the Credentials option to register with OpenStreetMap or enter your existing login information.
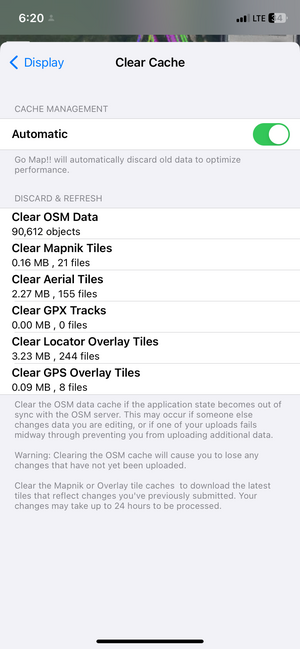
The 'Clear Cache' option can be used if you've downloaded a bit too much data for your iOS device to handle and things are becoming sluggish. It is also useful if your data is not in sync with the OSM server and you want to simply start fresh.
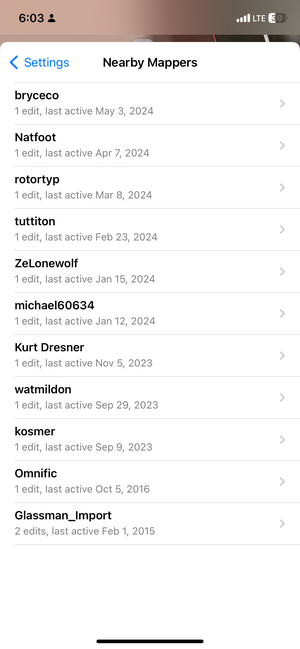
The "Nearby Mappers" option shows everyone that has edited the area in your current view. Zoom in to see fewer people or zoom out to see more.
'Prepare for Offline' downloads Bing and/or Mapnik tiles for offline use if you expect to be mapping an area without cellular connectivity. Alternately you can simply scroll around the area you plan to be visiting: all Bing, Mapnik and OpenStreetMap data is cached and will be available even if you have no connectivity. Once you are back to civilization simply upload as usual.
When displaying Bing aerial photography click the Bing logo to retrieve Bing copyright and data provider information.
隐私政策
(Effective Date: September 21, 2014)
This privacy policy governs your use of the software application Go Map!! for mobile devices that was created by Bryce Cogswell. Go Map!! allows you to edit and upload geographic information on the openstreetmap.org website.
User Provided Information
Go Map!! requires you to be a registered user on openstreetmap.org in order to upload changes you make to the map. You are required to provide your openstreetmap.org name and password to the application before uploading data. Your openstreetmap.org name and password are securely stored on your device and are not shared with or accessible to the application developer.
The data you edit and upload to openstreetmap.org using Go Map!! is subject to the OpenStreetMap Privacy Policy.
Location Information
Go Map!! uses your device's GPS to locate and orient your position on the map, and to record and store GPX tracks on your device. Location information is not transmitted to any party.
3rd Party Access
Your openstreetmap.org login information is securely transmitted (using SSL) to openstreetmap.org when you upload data, solely for the purpose of authentication. Your information is not shared or transmitted to any other parties including the application developer.
Opt-out Rights
You can stop all collection of information by Go Map!! by uninstalling the application. You may use the standard uninstall processes available as part of your mobile device.
Changes
This Privacy Policy may be updated from time to time for any reason. We will notify you of any changes to our Privacy Policy by posting the new Privacy Policy here. You are advised to consult this Privacy Policy regularly for any changes, as continued use is deemed approval of all changes.
