Import CAR UNICEF workflow
In this document we will:
- present the import rules in OSM, then the data itself, the tool set to make the import, and the extra data that can be added as a useful complement
- describe step-by-step a workflow to make the import, with screenshots and tips, made from this area.
Presentation
Import rules in OSM
Unlike the import of WRI data, the data from UNICEF, considering its high accuracy, is to be imported into OSM and consequently, needs to follow the rules of any imported dataset. The dataset has been analyzed, the attributes have been converted into tags (see the links to each dataset to the parent folder here, presented and validated to the import talk-list.
Any import must be done through a specific OSM user account. So the advice is to create a new OSM user account (eg the usual name with _import at the end) from a secondary email address.
Only the UNICEF data will be uploaded using this account so any other edit must be sent with the everyday OSM account. As the import is the opportunity to add objects around it, the proposed workflow will integrate this to make the whole easy and efficient.
The UNICEF data for Central African Republic
This data has been originally made through field surveys conducted by UNICEF in 2012 within the 6 most Western regions (half the country), on three thematic. Their respective total of objects reflects the normal frequency of each of these categories of humanitarian objects:
- health facilities constituted of 342 nodes, in the biggest settlements
- schools, 934 nodes, also present in some villages, especially when remote from towns
- water points (wells), 1937 nodes, obviously more frequent and ubiquitous
During the import we will put changeset tags that indicates the source. Nonetheless, it is useful to let the source tag for each object as the changeset information is not forcefully got from any OSM extract tool and UNICEF could be disappointed not to be mentioned for this data + the metadata can disappear easily once the information is shared and shared, and the source can be a very useful information for people who will work with this data.
An import through the Tasking Manager
Rather then a single, blind, import, it has been decided to import the data with a control check of each object. Specific Tasking Manager jobs have been created for this purpose, one for each UNICEF dataset.
They all share the same grid and a specific feature: they propose to load in JOSM the extract of the data to be imported over the area of each tile. Consequently, the normal OSM layer is loaded from the Tasking Manager + a layer containing only the UNICEF data of one topic (Health, Education or Wash facilities).
Other data good to be added
Roads
For health facilities, it seems important the roads to reach them are traced. Most of the primary and secondary roads are already in OSM. If not, just use Bing Imagery to add the missing sections. Main roads apart, it it also important the residential or service alley leading to the facility is drawn, so that someone using the OSM data on a routing device can easily reach it. You can also improve the roads accuracy if it bad. The tool to improve ways accuracy (shortcut: W) is ideal for this.
Residential areas
When tracing a road and crossing a village, a great value is to stop to trace the residential area withTag:landuse=residential. It provides at least an extent and an area of a population settlement.
Places
This is a very interesting aspect of the UNICEF data: every object has a addr:city=* tag. As a huge majority of settlements are missing in OSM, it is a great opportunity to add them in OSM. It is even far more detailed than the settlements layers that can be found in the OCHA Common Operational Datasets (this one being, unfortunately, made from unknown source and consequently cannot be added into OSM). In CAR, most of them are villages, sometimes towns. The NGA . The NGA (National Geospatial-Intelligence Agency) country files layer for Central African Republic, in .osm format, can be downloaded here. This data is ODbL compatible.
Contextual data
You can also add some contextual data, basically the main buildings, what can be easily done with the building plug-in tool.
Workflow
The workflow will show:
- first the common steps for the three UNICEF datasets to start
- then will focus on how to check and add extra data to the health facilities, then the schools and finally the WASH objects, with your regular OSM account
- last but not least, show the final step about how to upload the UNICEF data, including the required changeset tags, with your OSM import account
You can decide to work on only a kind of dataset or process the three datasets over a same area. This is actually what has been done for the test in order to then create the current workflow. Anyway it is better to read the whole workflow cause eg some explanations for the health facilities are useful for the 2 other datasets.
Load the data
Open JOSM and the Bing Imagery. Here are the links to the different Tasking Manager jobs:
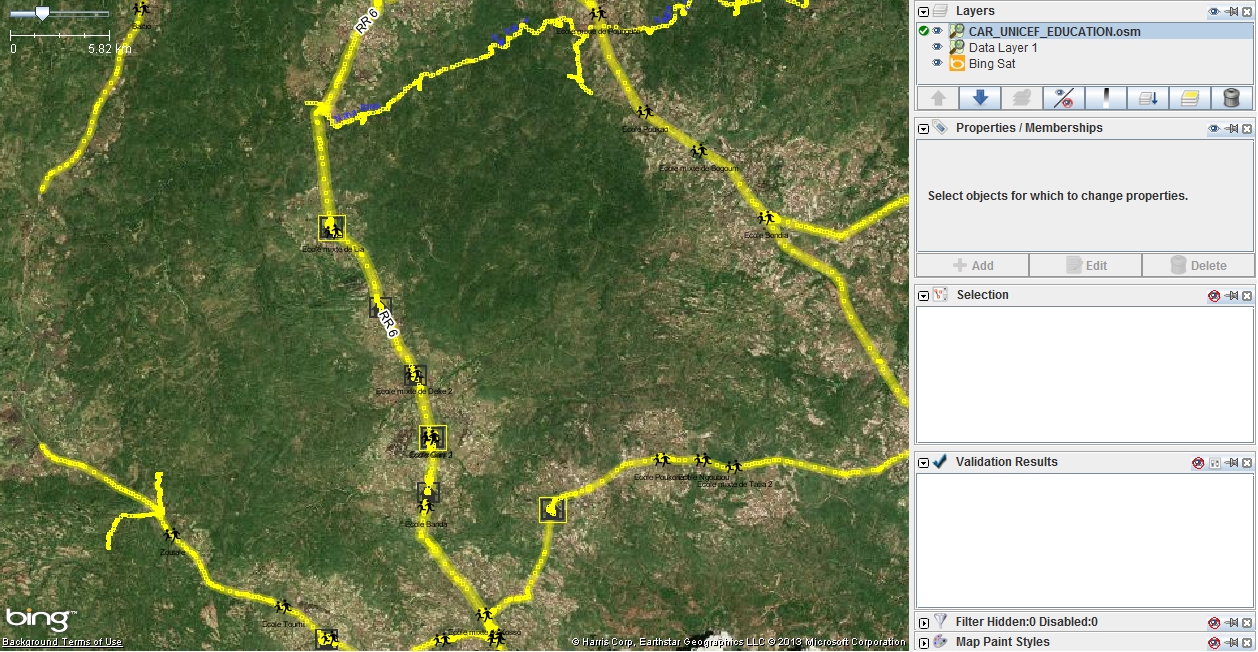
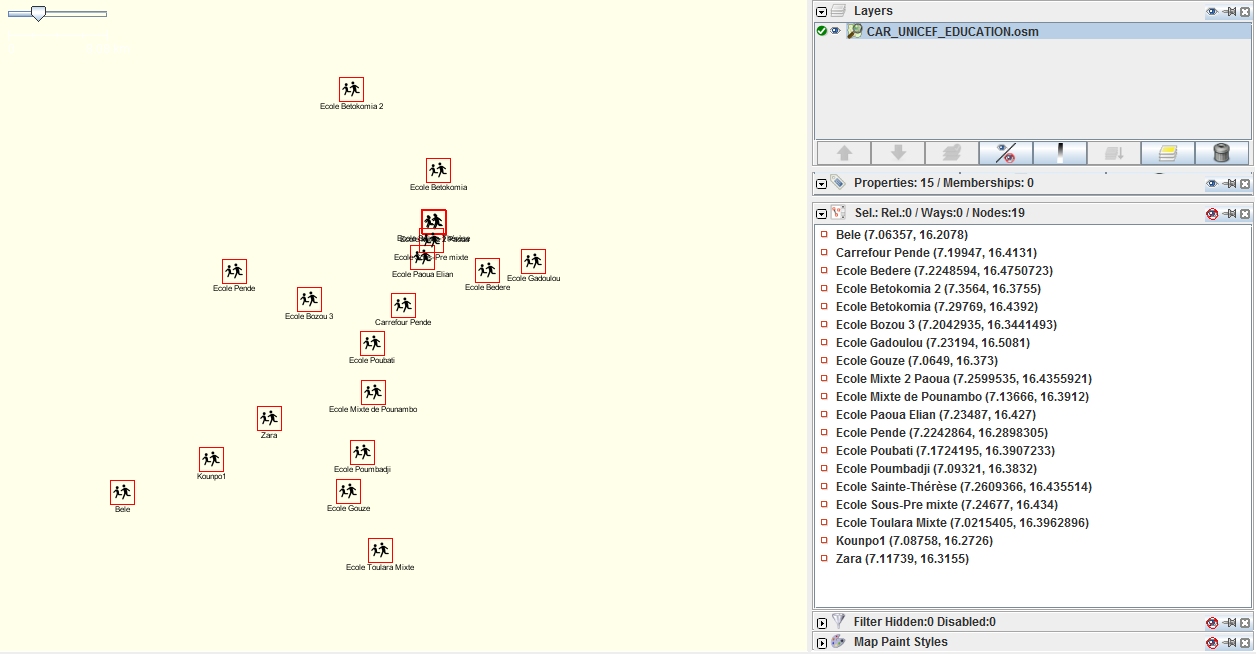
First choose your task, then click on JOSM. Once the OSM data is loaded click on “here” in the sentence “Import the UNICEF data in JOSM by clicking here” below the buttons. A CAR_UNICEF_something.osm will be loaded. You should get a result as the example shown below.
Save the CAR_UNICEF_something.osm somewhere in the system files of your computer. Just be sure the Active layer mark ![]() is on it and then click on the Save button or go to Menu, Save.
is on it and then click on the Save button or go to Menu, Save.
You are ready to start checking the UNICEF data.
Health facilities
You need to organize your checking, eg by following a road, then another, from West to East, or the contrary. Follow the next steps for each facility of the layer:
First check if the name is spelled correctly and respect the cartographic writing conventions. Each noun and adjective must have its initial letter in capital.
Then check if the location in the tag addr:city=* matches with where the facility is located. If there is any location name yet in OSM or if the names do not match, please refer to the boundary_admin_level tags of the object to be sure that the facility is at least in the good admin boundary. You can also load and check the NGA place names layer for CAR as a complementary check layer. It may happen (hopefully it is very rare) the admin level 1 is not even the good one; in these cases, it is better not to keep the facility.
If there is an opportunity to add place name in OSM, please do not miss it:
- activate the CAR_UNICEF layer if not already done (with the markdown
 )
) - copy the name in the tag properties panel
- activate the Data layer (with the markdown
 )
) - add a node roughly in the middle of the village or town
- choose the right kind of place (town, village, hamlet...) in the preset menu
- add a name tag and paste the name.
- upload
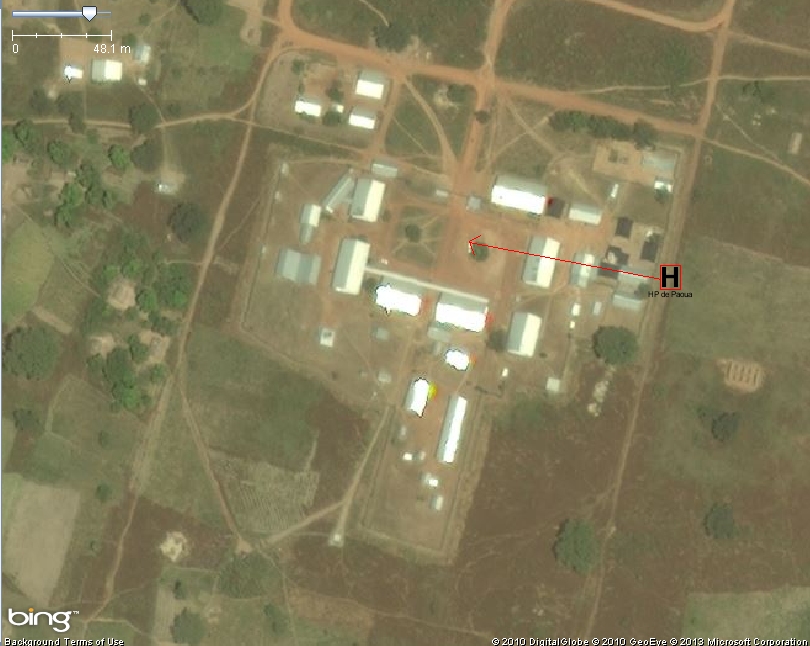
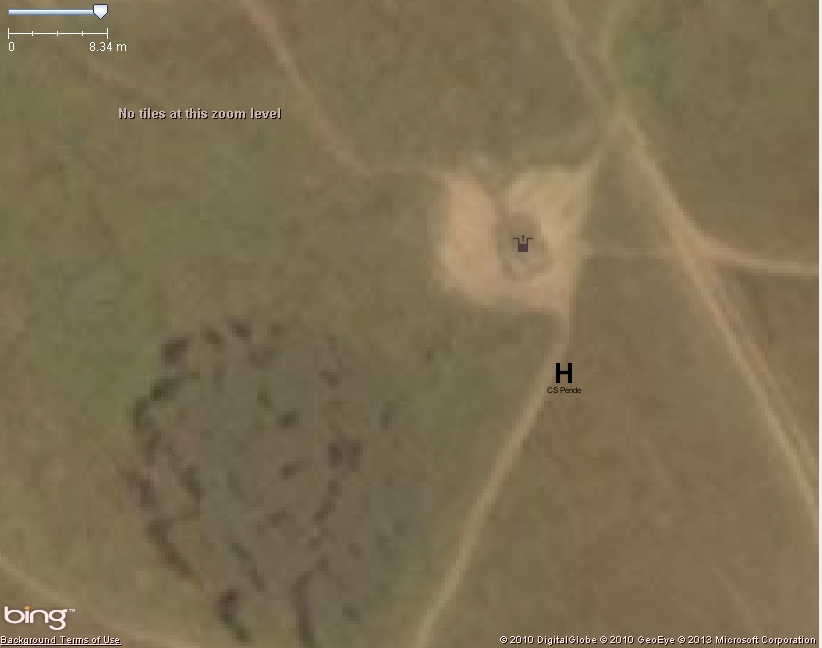
Once this set, it happens sometimes the node is not located exactly where it should be, that means roughly in the the middle of the area the amenity covers, but it is far from it. You can just move it, as shown below.
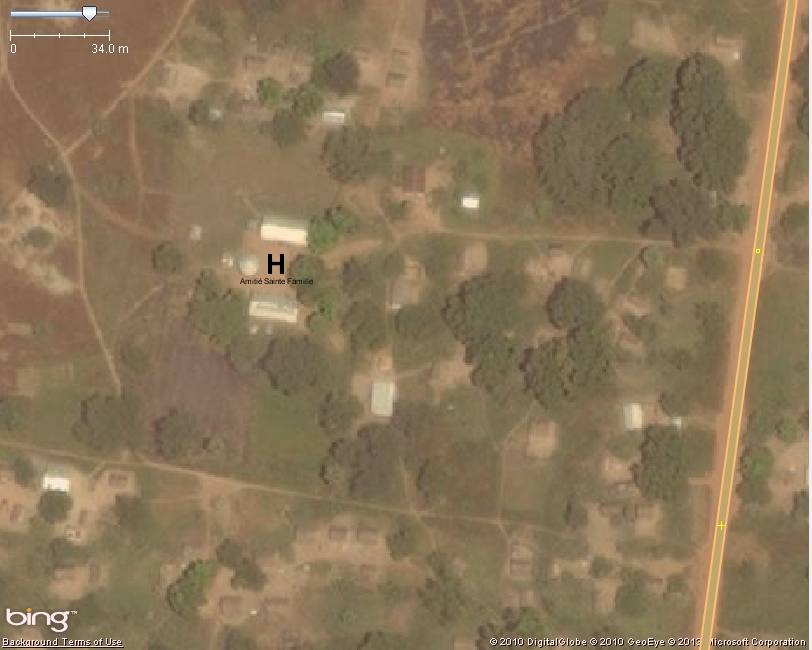
But it can be well located, closed to buildings that are likely related to the facility. So there is nothing to move. Example below:
It may happen the node is located in an area where it is not obvious the buildings are health centers or hospitals, because they are small or they have roofs in traditional materials. If it is not located in a totally empty space far away from any populated place, but within buildings, it is better not to move it and let where it is, and not try to find the closest building with a white roof.
Once the health facility is checked, save your CAR_UNICEF_something.osm layer.
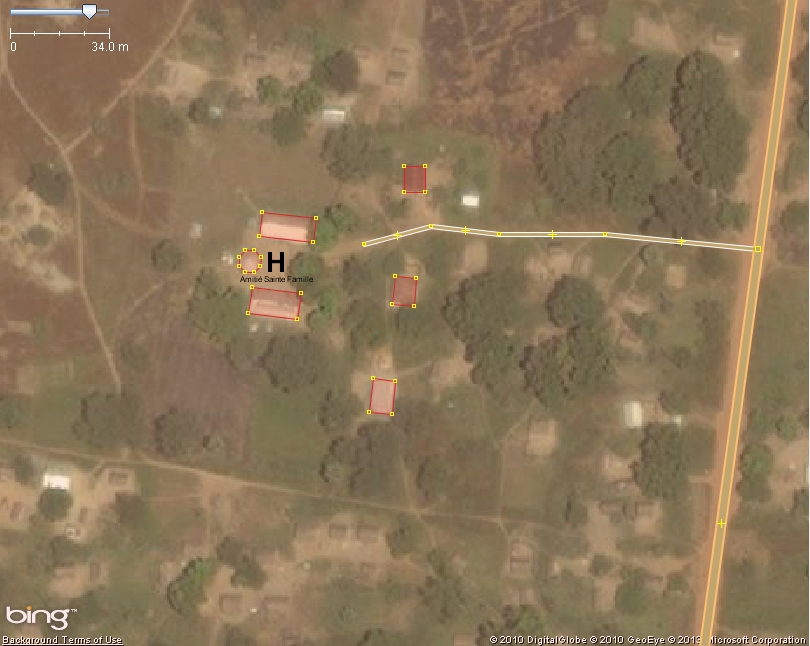
Then, it may be interesting to add some objects like residential area, buildings or service roads. To do so, it is necessary to first activate the Data layer (with the markdown ![]() ) cause the CAR_UNICEF import layer is not supposed to contain other objects.
Then you can draw the objects. Here are the results for the previous example:
) cause the CAR_UNICEF import layer is not supposed to contain other objects.
Then you can draw the objects. Here are the results for the previous example:
It is easy and quick to do and add a real extra value to the data, as shown on the the resulting Mapnik rendering below:
To see how to add a missing placename, see the next section about schools.
Schools
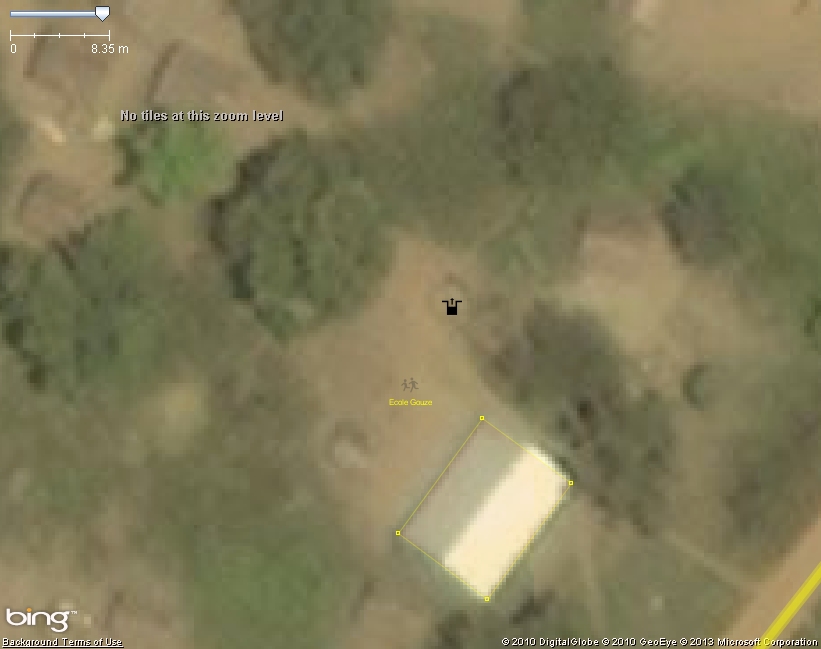
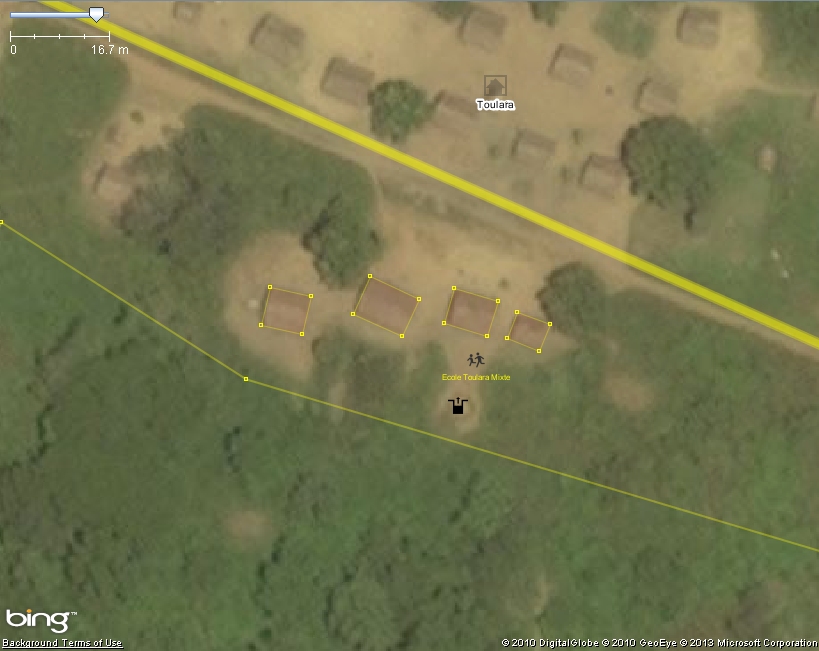
The checking process (name, location) is exactly the same as for the health facilities. Example below:
It may happen that a school is located at the exact location than an health facility. It seems some surveyors just took one point for a same facility encompassing both an hospital and a school. This is hopefully rare for health and education facilities, but is more common for the water points.
Once the school is checked, save your CAR_UNICEF layer.
With this dataset it is most common to see the node located in a town or above all a village for which there is no place node in OSM. As the school has a addr:city=* tag, it is the opportunity to add it. The process is the same than for the Health facilities:
- activate the CAR_UNICEF layer if not already done (with the markdown
 )
) - copy the name in the tag properties panel
- activate the Data layer (with the markdown
 )
) - add a node roughly in the middle of the village or town
- choose the right kind of place (town, village, hamlet...) in the preset menu
- add a name tag and paste the name.
- upload
See below an example:
Water points (WASH objects)
Same checking process. This is the layer where the opportunities to add place names and residential landuses are the most frequent.
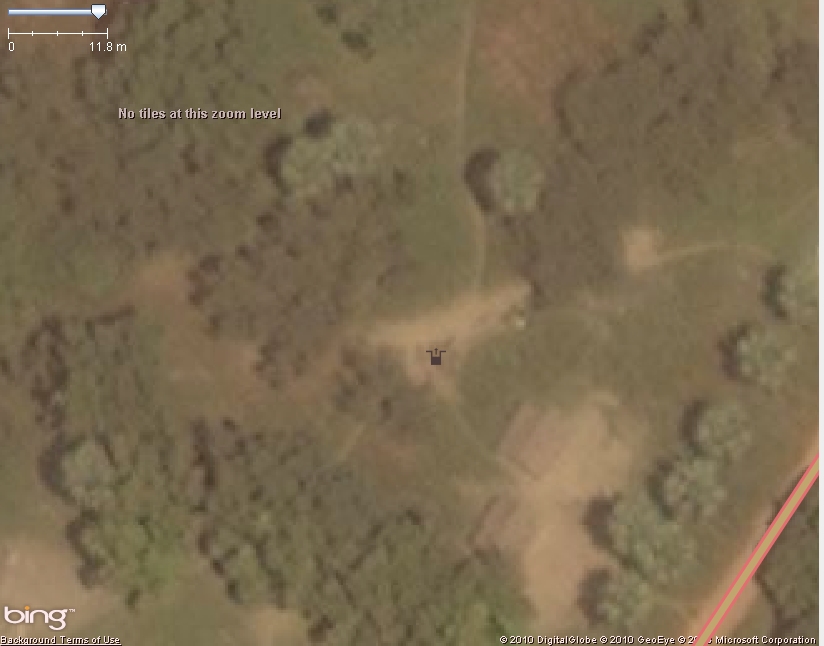
Location is this time less obvious as it is not related to building but wells. Lots of examples are provided below. Sometimes there is no obvious well close to the node; it is better in that case to let the node at its original location. If the water point is part of a health facility or a school, it will generally be located at the exact same location. It is better to move one of them so that they do not overlap each other. If nothing is obvious, better to slightly move the school of health facility node, as they do not represent the exact location of a small object anyway. See below an example.
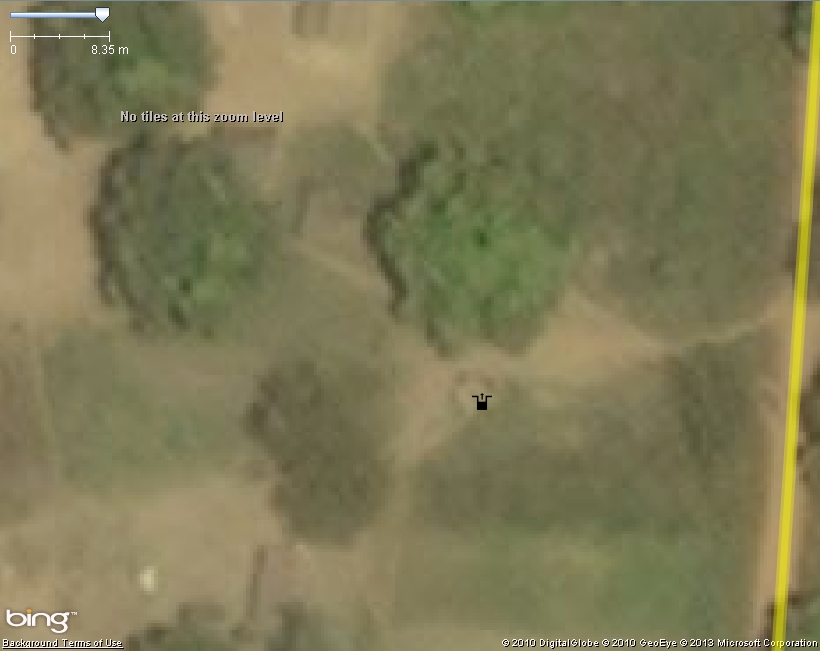
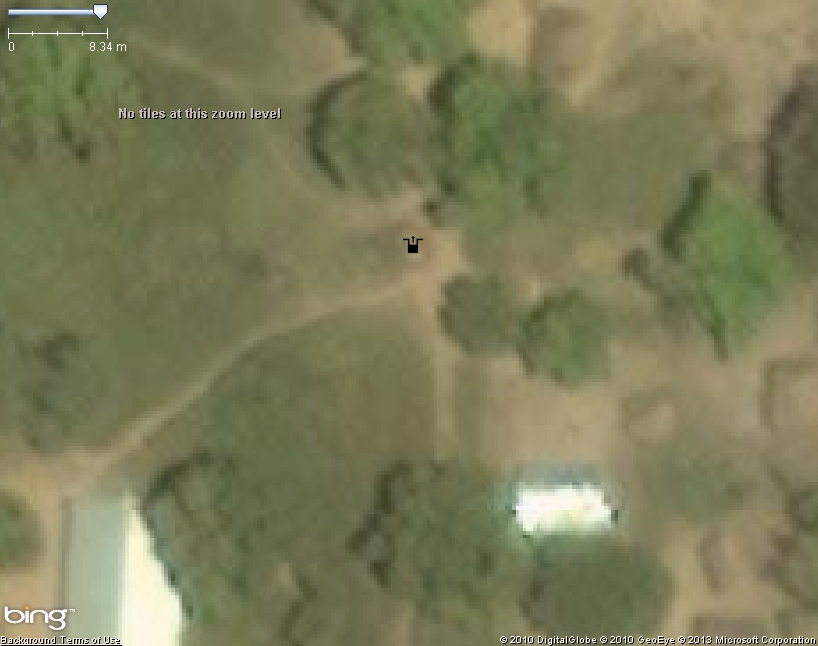
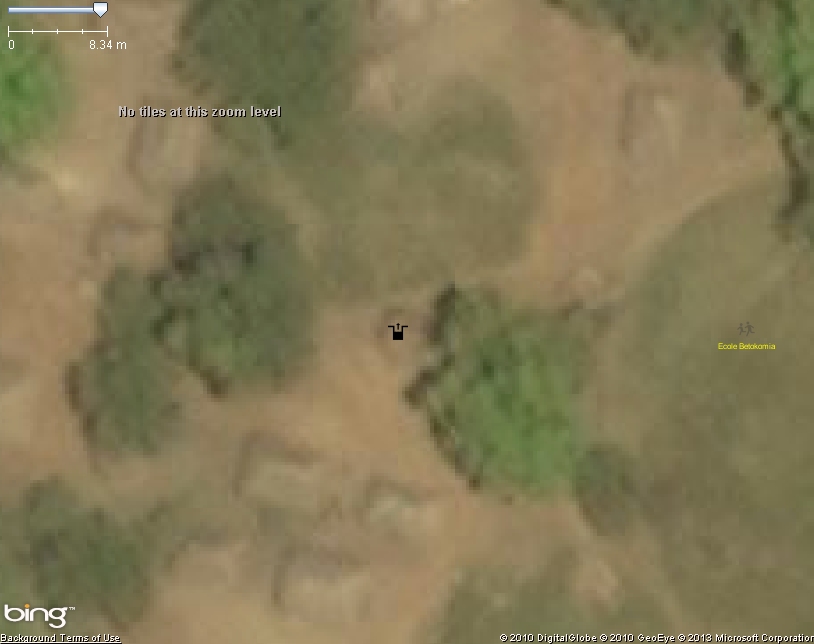
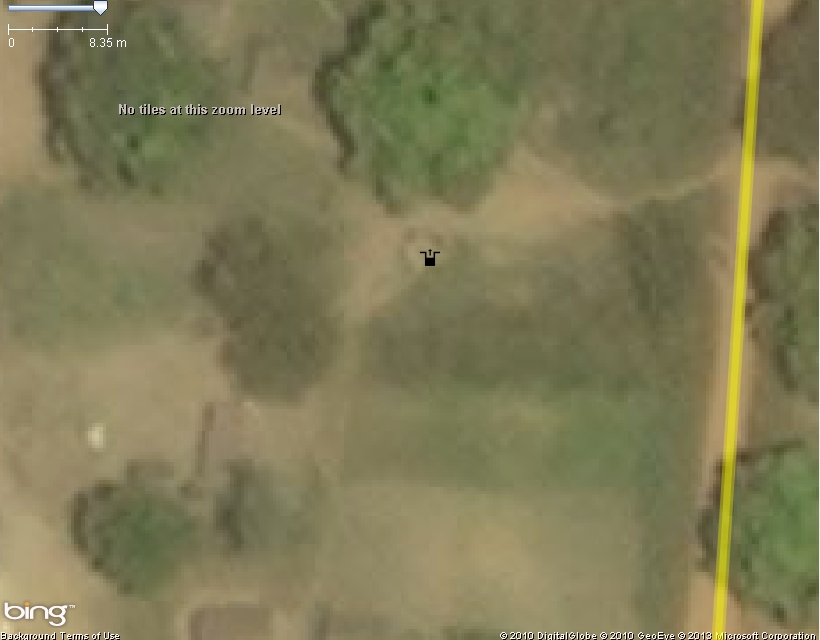
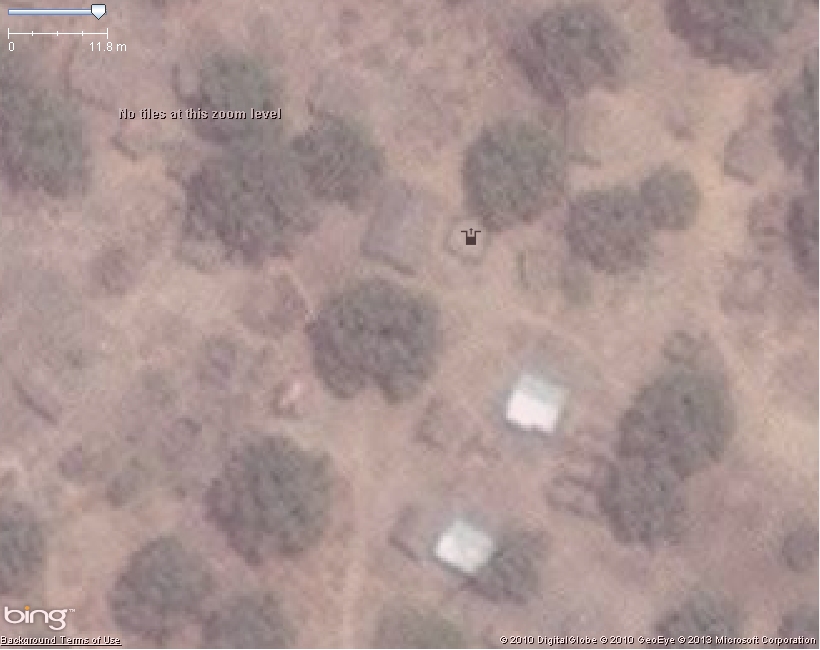
Now here a few examples of rounded wells, that are the most common. The nodes have been moved in their middle.
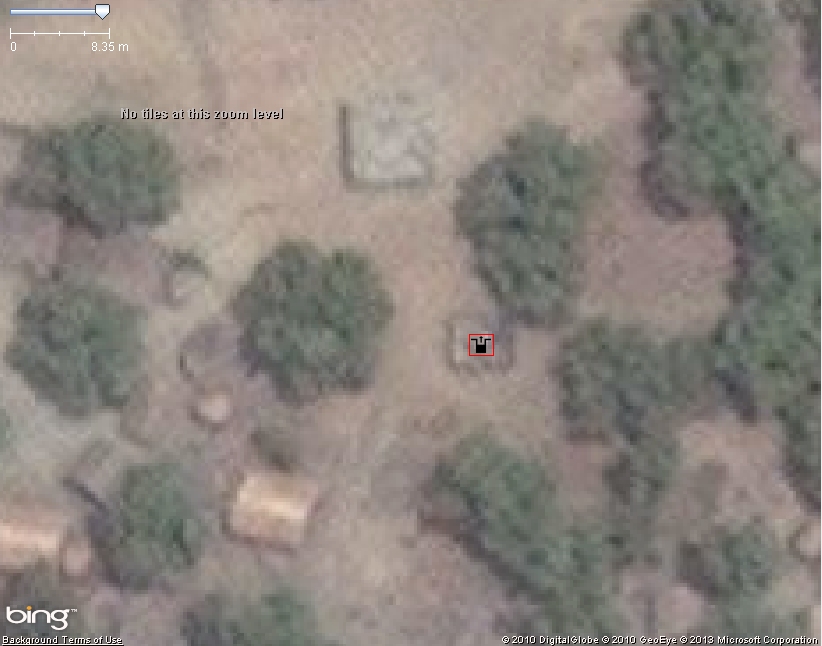
Now a few examples of squared wells, apparently bigger.
Upload the UNICEF data
Once you finished to check all the objects from the UNICEF dataset you are working on (Health facilites, schools or water points) and to add extra data (places, roads, buildings) with your regular OSM account, it is time to process the upload of the UNICEF data:
- Start by saving your CAR_UNICEF layer data
- You need to close JOSM as you have been using your regular account to add place names, residential landuses or other contextual data as some facility buildings. Please verify you did not set your regular account in the JOSM settings. If so, just delete it
- Restart JOSM
- Load your CAR_UNICEF_something.osm file you just saved
- Make a select all (CTRL+A) and check the names in the Tag Properties panel. See below an example where “École” (school in French) is missing, what occurs sometimes. Better also to replace abbreviations:
- "CS something" by "Centre de Santé something".
- "PS something" by "Poste de Santé something".
- "HR something" by "Hôpital Régional something".
Add the missing word and correct the spelling and missing capital letters.
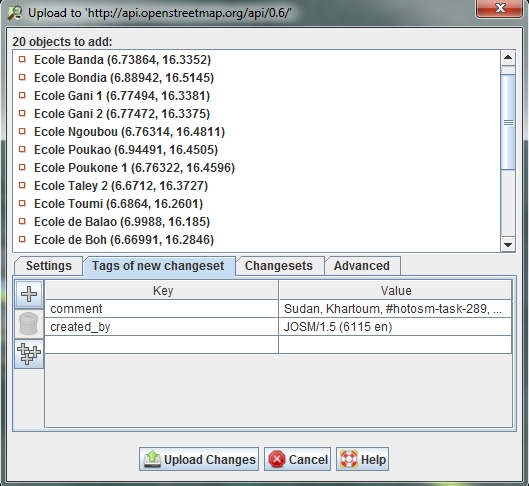
If everything is OK, you can process to the data upload:
- Click on the Upload button
- Add the general comment provided on the Tasking Manager Workflow tab (eg for water points: CAR, #hotosm-task-253, source=Bing,UNICEF)
- Click on the 'Tags of new changeset” tab as shown below
- Let the comment and created tags as they are, and add the following changeset tags required by the OSM Import Group in the wikipage for UNICEF data
source=UNICEF
source:date=2012
import=yes
url=http://wiki.openstreetmap.org/wiki/Import_CAR_UNICEF_FOSA or url=http://wiki.openstreetmap.org/wiki/Import_CAR_UNICEF_Education or url=http://wiki.openstreetmap.org/wiki/Import_CAR_UNICEF_WASH
- Click on Upload changes and fill your login/password of your import account.
It is done now, you can mark the task as done in the Tasking Manager and make another import!
