WikiProject Uganda/Uganda Refugee Settlements Remote Mapping Guide
Background
An escalation of violence in South Sudan since July 2016 has lead to a large population movement into the north of neighboring Uganda. An estimated rate of between 2,000 and 3,000 displaced persons cross the border into Uganda each day. In a rapidly developing situation such as this, it is vital that accurate and up-to-date mapping information is available to allow the ERU to respond more effectively and efficiently. The maps that you create in this task will enable sanitation facilities - including latrines, hand washing points and hygiene promotion activities - to be effectively provisioned for the people living there.
ID Editor Workflow
1. Sign up for OpenStreetMap User account here https://www.openstreetmap.org/user/new 2. Login to the OSM Tasking Manager http://tasks.hotosm.org/, search and find one of the tasks for Northern Uganda 3. Read through the Description and Instructions before one begins to map.
4. Go to the “Contribute” tab and click on a white square to select a task from the map, you can pan and zoom in and out of the map, of the area, to choose a square using the + and – icons at the top left-hand corner of the map. Single click on a white square to select it for editing, or just click select a square at random.
5. Click ‘Start Mapping’
6. Click on the drop-down arrow under Edit With, and select ID editor.
7. A new tab opens with the ID editor. Login to your OSM account.
8. Zoom into the square, which has a purple square outline, in order to map. One should not map outside the lines of this purple square.
9. Zoom into the square until you see roads and buildings, then start drawing as accurately as possible.
10. Use the area tool to draw buildings and the line tool to draw roads.
Tag buildings as building = yes, then roads highway=path for small paths and highway=tertiary for bigger roads that connect villages to towns. Ensure that all roads lead somewhere and connect to another road.
11. Click the tick next to ‘edit feature’ to save the feature you drew.
12. Once you have mapped all the roads and buildings in your given square, click the ‘mark as done’ tab, which will upload your data to OSM.
JOSM Workflow
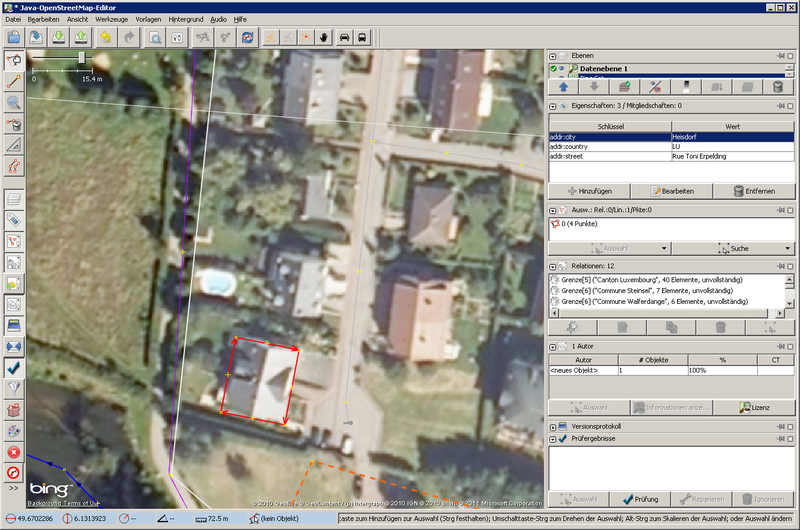
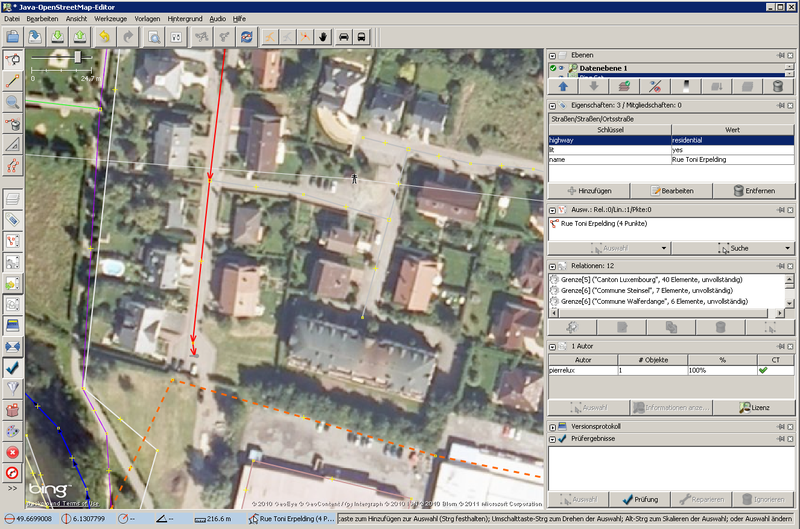
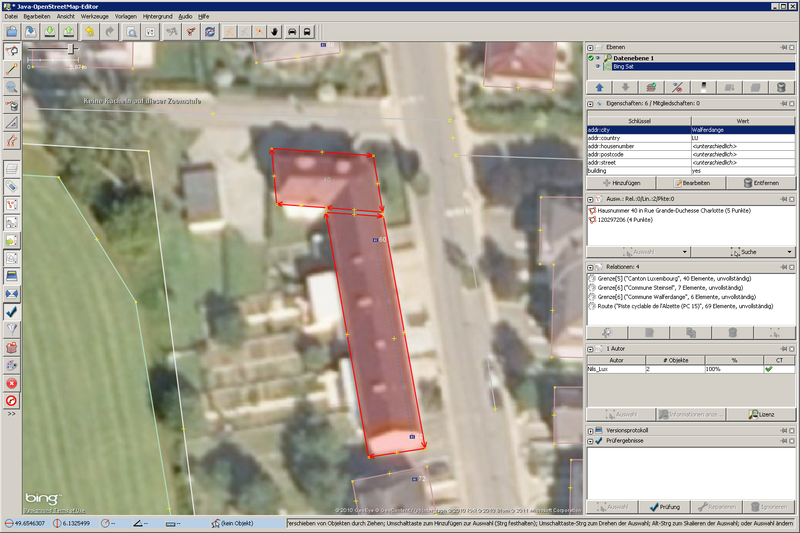
Java OpenStreetMap (JOSM) editor allows you to map fast with keyboard shortcuts, a series of editing tools for common tasks, and specialized plugins. The workflow for the task in JOSM is explained below.
1. Download and install the latest version of JOSM from https://josm.openstreetmap.de/wiki/Download
2. Install the ‘Building_Tools’ plugin.
3. Log in to the tasking manager project #3346, pick a task and click on Start mapping
4. Start JOSM then Click on Edit with JOSM (make sure Remote Control is activated in JOSM). OSM data for the square will be downloaded in JOSM
5. Zoom into the square until you see roads and buildings, then start mapping using the add nodes tool
6. Tag buildings ‘building = yes’ and roads highway=path for small paths and highway=tertiary for bigger roads that connect villages to towns. Ensure that all roads lead somewhere and connect to another road.
Validation
Validation will be done to make sure all the data added is accurate and valid. Validators will go through the same process, but instead of mapping, they will be checking whether the mapping was done correctly. Tasks that are not well mapped will be either invalidated or remapped by the validator.


