OSM Tasking Manager/Setting up JOSM
To use the Tasking Manager with JOSM you need to setup two things:
- Remote Control - This allows you to click a single button in the tasking manager and open the area in JOSM
- The image layer - This adds the imagery for the task you are working on into JOSM. You need to add a new image layer for eash task.
Remote Control
Remote Control is necessary to enable communication between the OSM Tasking Manager website and your local JOSM installation.
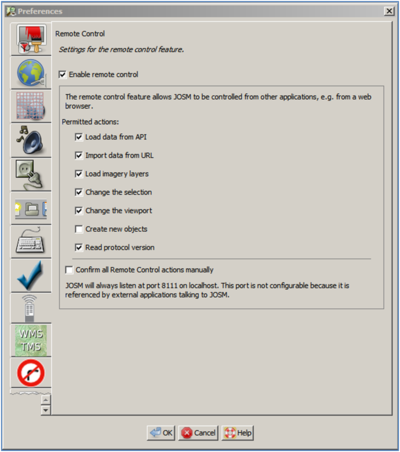
Open JOSM and go to menu Edit – Preferences
Select the remote control menu
Enable remote control
Also make sure you do not have the “download data automatically” plug-in activated - de-activate under the file menu.
Click OK and restart JOSM
You should now be able to use remote control. Within the tasking manager you should be able to click the 'JOSM' button on a task, to automatically download the square area of a task. Where job descriptions include an imagery link, you should also be able to click the link to automatically bring in the imagery as a layer.
You can find more information about JOSM remote control on the JOSM wiki
Add a new image layer as WMS/TMS to JOSM
The easiest way to add special imagery as a layer in JOSM, is to use remote control links where they are provided e.g. within the task manager. It's also very easy to add bing imagery and other global defaults via JOSM's imagery menu. But for some imagery you may only know a URL to a WMS or TMS. This can be added as follows:
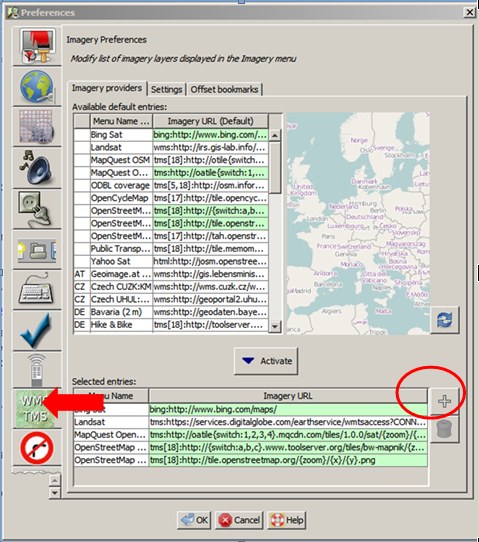
Go to menu Edit - Preferences
Select the WMS/TMS menu
Click on the + symbol at the lower right
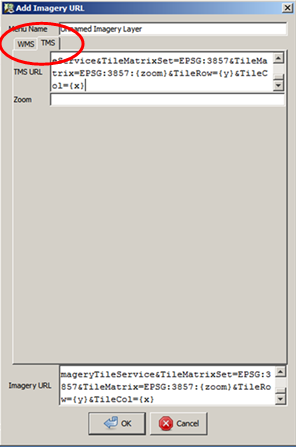
Give the new image layer a proper name
Past the link from http://tasks.hotosm.org into the URL field
You have to choose WMS or TMS – You can see in the URL what kind of service to use.
Click OK and close the preference window.
To use it, go to the region it is supposed to cover and then go to the "Imagery" menu, where you should see the named imagery source you have added. Selecting this will add the layer. You may have to zoom out if you get error messages instead of imagery.
JOSM in action
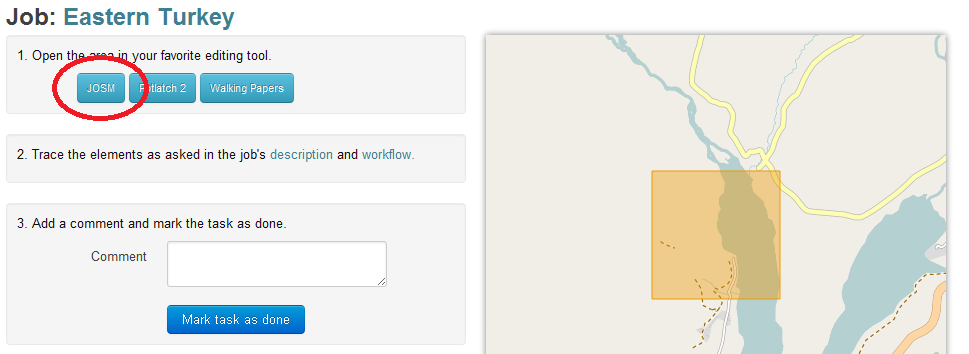
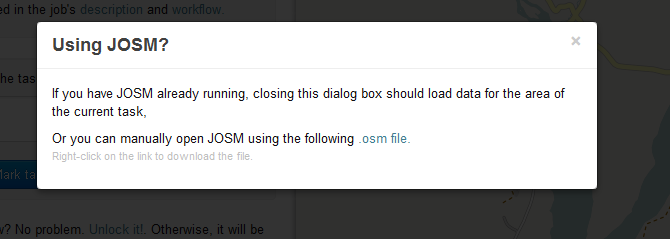
To use JOSM select your task in the normal way. Once the task has been selected click the JOSM button.
OSM Tasking Manager will then ask if JOSM is open.
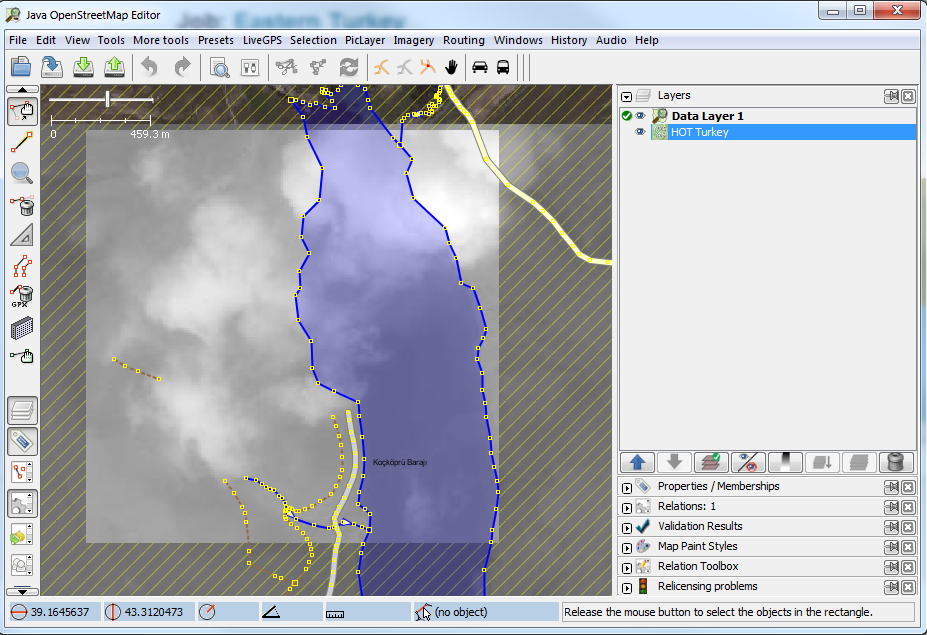
Finally JOSM will open the data

