Phototexturing
Page in translation from german language. Please help to translate this content into english.
This page describes the preparation of photo textures for 3D landmarks for 3D city models specified on the page OSM-4D .
Autor: Marek Strassenburg-Kleciak
Definition
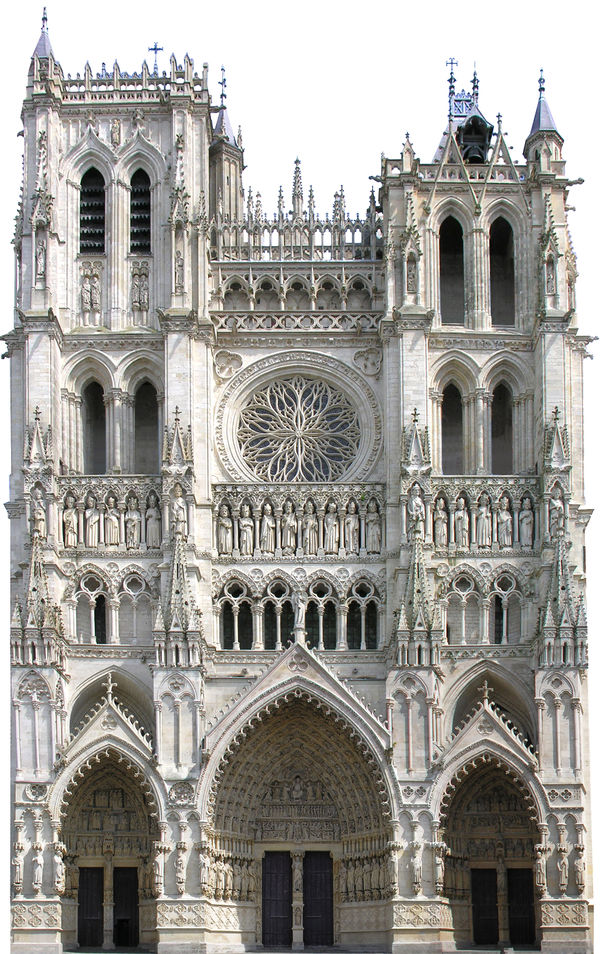
A photo texture is a texture made from digital images (photography) for the reason of texturing the entire facade of a building.
Note: Seamless textures are also made from digital images
but they´re only a small repeatable part of a facade.
Creating process
Location for for shooting
Try to find a location that allows you to take a picture of the whole facade from the front.
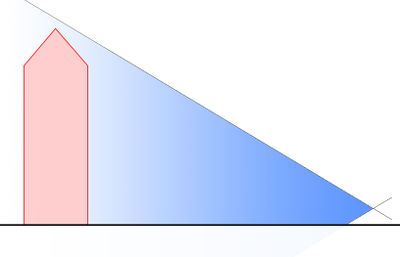 You want a good main picture witch has all of the facade in view with no obstructions.
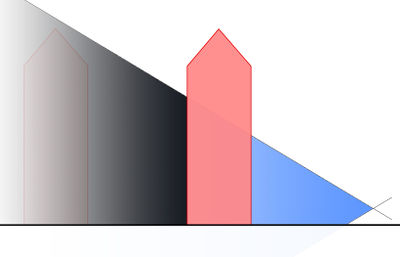 This would be a bad main image because the camera is too close to the facade and can't see it all.
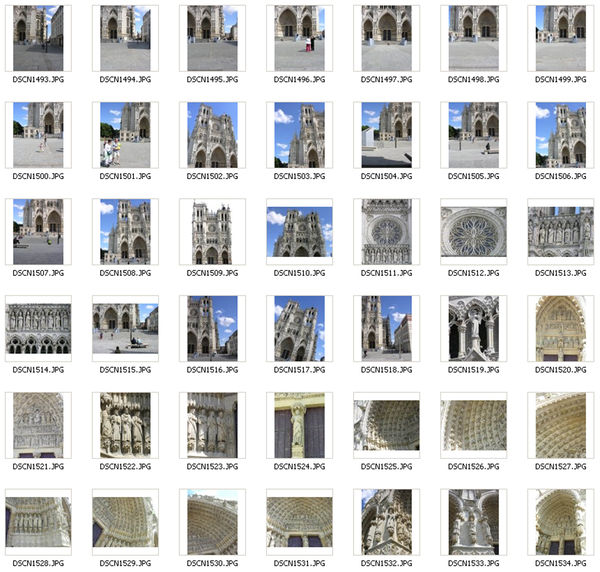
You can take lots of close-up pictures of the facade to get finer detail and then connect the pictures together in software.
If You make a lot of pictures of a long facade or big object, is it very possible to get the problems with the right connection of the pictures? In this case, make an overview picture. It is also helpful to use a notepad or a GPS camera.
It is also helpful to take an overview picture that has all the corners of the building in view; The diagram has this labelled P. You can use this to see all the different heights of the facades and makes it easier to better scale the textures.
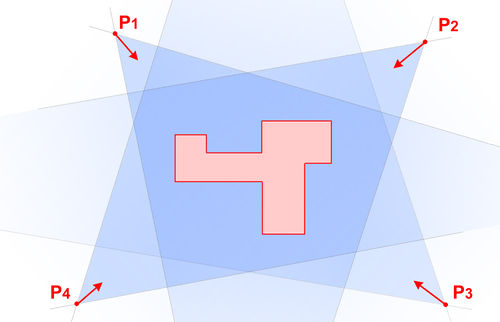 Locations for control images (P)
"Simply architectonic photogrammetry"
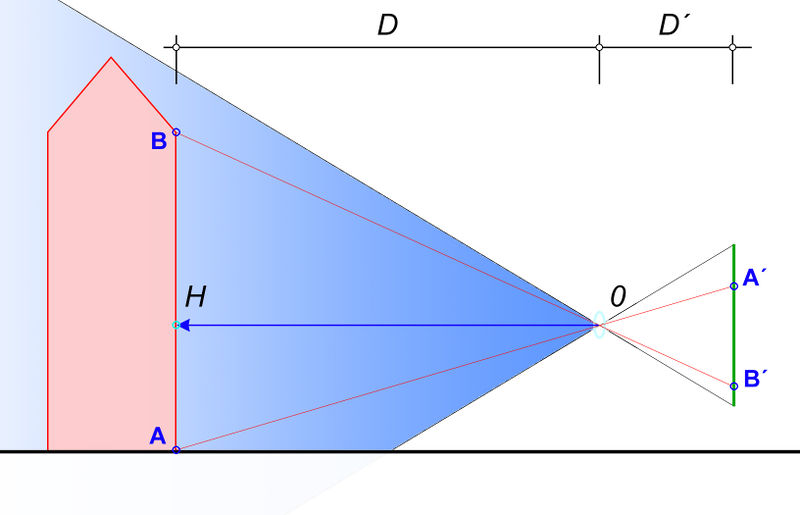
If you make a photo orthogonal to the facade, you can get not only the texture, but also determine the dimensions of the photographed object. Knowing the values of D and D'(see further in the text), the dimensions can be calculated directly from the image.
Orthogonality
An image, taken frontal to the facade (orthophoto) makes easier the production of the photo texture. On the other hand-sometimes is it impossible to make a texture when the facade was photographed from the angle.
An orthogonal made photography has no perspective distortion of the facade.
If the facade is not photographed with the wide-angle lens, you can often use the photo as a facade texture only after few simply post-processing steps.
O - Lens of the camera H - The middle of the camera viewfinder
Side view
ORTHOGONAL MADE PICTURE:
The geometric center of the picture is perpendicular to the facade.
So, on the flat terrain, the distance between the camera (A) and the ground (S)
same as between the center of the camera viewfinder (H) and the ground surface at that point (H')
π = facade level
If you place a leveling staff perpendicular to the facade, you can roughly (approx. 5% deviation) determine the dimensions of a facade.
Simple extraction of building heights
A simple way to determine the approximate height of the most photographed façade, based on the anylyes of marked frontal shoted pictures.
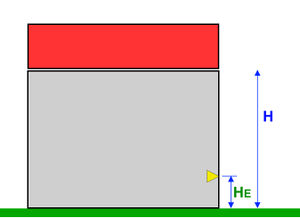
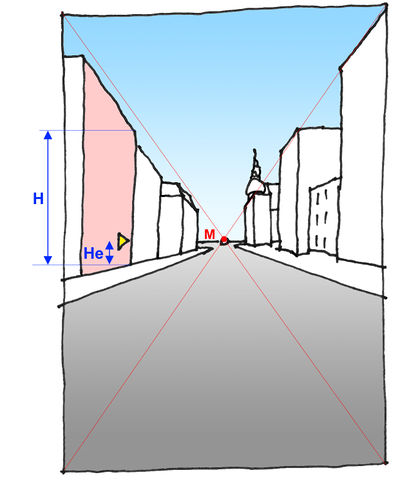
In advance you have to measure the distance 'He' between own eye height and the floor.
Then prepare a marker for facades (masking tape, sticky notes or similar good visible stuff for marking points on the façade).
Step 1.: The marker is should be fitted to the facade exactly in your eye level height, He
( You can also notice a prominent point in the eye level, if present)
Step 2.: Photograph the facade from the front: 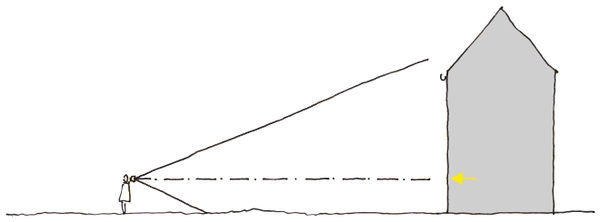
"Frontal" means, that the marker is in the center of the image is taken during the photo.
From the photo, we can determine the height up to the gutter:
the accuracy of the height determination depends on the image resolution.
If yo know the distance between your eye height and terrain He, you can calculate the height of the façade H by rule of three,
because you can measure He´, and H´relatively as a number of pixel in the shoted picture.
Note: If you make a frontal photo is almost half of the picture sidewalk and street.
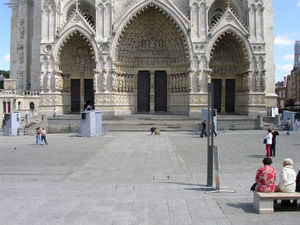 Picture, Output image for the texture.
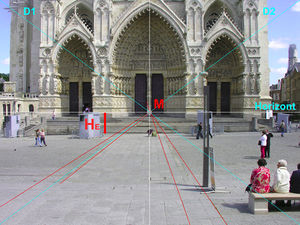
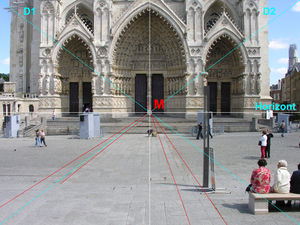 Checking: The center of the image (intersection of the two diagonals D1 and D2 'M' ) must be on the horizon -> Facade lines are ortogonally.
Note: Sometimes you may not have enough distance to the photographed facade in narrow streets.
In this case, you have to shoot pictures also parallel to the road and watch out for the marker which should be clearly visible:
M, he center of the shooted picture should be located on the horizon.
Estimation errors: The self-made test with three up to 6-storey buildings showed deviations of about 3 to 12% of laser measured height. The building heights, (up to the good visible gutter), were collected for control purposes with the laser measuring device.
Light, time and weather conditions
Appropriate Colour Adjustment based on different light, time and weather conditions is a hard task.
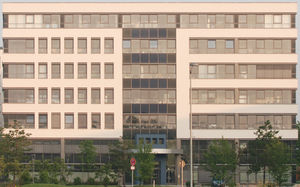
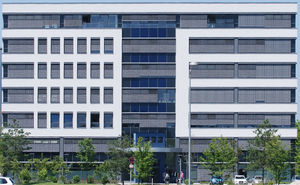
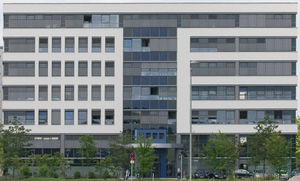
A good strategy is to take all necessary pictures (with neighboring facades) at the same conditions. The pictures below show the same facade at different times resulting in different color values.
|
|
|
|---|---|---|
| Morgen früh (zu gelbstichig) | Mittag bei Sonne (zu kontrastvoll) | Später Vormittag leicht bewölkt |
As you can see, best time is at high sun and slightly clouded sky. Bright summer light at cloudless sky leads surprisingly to lower quality textures. The strong contrast in such photos make many details poorly recognizable.
Manual adjustment of Color Balance
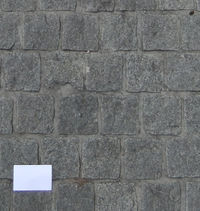
Including a white piece of plastic or paper will help to manually adjust the color balance.
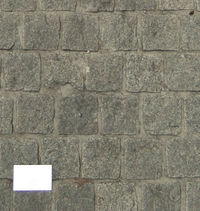 Result after manual color adjustment
Otherwise you must rely on your camera setting.
Connection and cleanup of the images
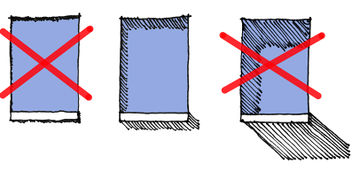
It saves a lot of time if you choose a location where there are no disturbing elements in front of the facade: trees, traffic signs. You should have a little patience and wait until the people standing in front of the facade disappear. Shadows on the facade are also undesirable. Sometimes it's worth waiting for particularly valuable buildings and watching how their own shadows change: there won't be a building without shadows on windows, cornices, etc., but they look differently plastic at different times of the day. No or hardly any shadows make an object flat and unrealistic, shadows that are too long look irritating.
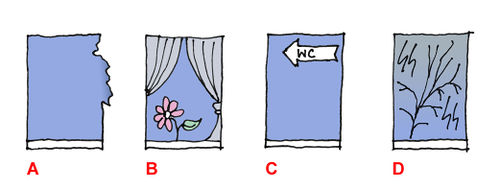
Likewise, one should avoid overly characteristic elements in the photographed image, such as:
A. Damaged or dirty sides
B. Curtains, blinds, plants, people
C. Signs / Advertising etc.
D. Significant reflections of characteristic elements
Important: If the building has several windows, they should have all the same or very similar color of glass.
Of course except coloured windows.
Even if you can often photograph the entire facade at once with a wide-angle lens, they are not very suitable for creating textures because of the distortion of the facade geometry [1].
Photo rectification techniques[2] do exist, but they are laborious.
Therefore, photographs of the facades of particularly valuable objects should be taken from a greater distance and with a telephoto lens (80mm and more). Such individual recordings can be combined with various software packages (here links) to form a single image.
Trees in front of the facade are often an obstacle: if they are too close to the front of the house, there is little other solution than to try to retouch the tree. This can be achieved by:
- Other structurally identical parts of the image are copied into the areas where there are trees
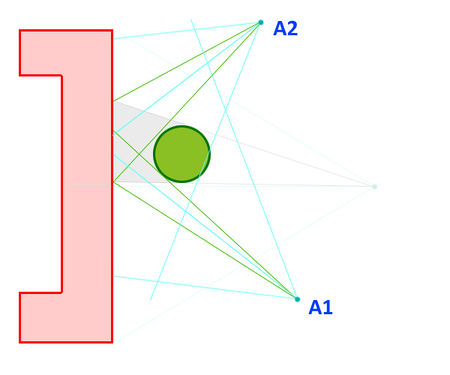
- Copied a portion from another photo into these areas. For this you take pictures from another location from which you can see the areas covered by a tree:
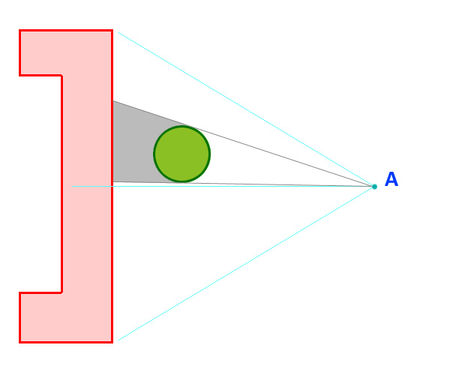
LAGEPLAN: GEBÄUDE MIT EINEM BAUM VOR DER FASSADE
|
|
|---|---|
| Ein Teil der Fassade ist auf dem Foto vom Standort A durch ein Baum verdeckt | Zwei weitere Bilder vom Standort A1 und A2 liefern fehlende Fassadeninformation |
Color adjustment of neighboring surfaces
The neighboring surfaces Texturen should have adjusted colors.
A plastered wall that goes around the corner of the building should not have any other color (not even slightly different), unless that façade is really differently painted or plastered.
Without color adjustment you see immediately in the 3D model that something look unnatural. Sometimes You don´t know why but the model is not "nice".
Very helpful is the placement of small white paper on the fotografed façade: Dadurch kann der Weißpunkt aud dem Bild bestimmt werden und die Anpassung benachbarter Flächen geht leichter.
Foto shooting. Practical tips
- Fence, lattice etc. - try to shot pictures with sky as background.
- If possible don´t use wide-angle lens (more than 55 is ok)
- Don´t shot too small areas: In this case is the generating of repeatable textures impossible.
- If possible dont make pictures with Trees and plants, people etc. that partially obscure the object
- It is very difficult tu generate textures from Pictures with visible, strong reflections in the windows ( especially in modern architecture with a lot of divisions in the glass area)
- Don´t shot pictures from the side: The windows have too much side material on the page. Generally: You may shot the pictures of doors and windows not absolutely orthogonal but with ca. 15° deviation from orthogonality. 30° deviation or more is too much.
Seamless (free of seams)
Seamless means that one texture flows smoothly into the other. A typical beginner's mistake is e.g. slightly different heights of the cornice of a building due to incorrect scaling or placement of the texture on the facade.
Removal of personal details
OpenStreetMap should avoid mistakes that Google made and makes:
All image information relating to the personal rights of the residents of the house should be removed from the images manually!
This includes:
- House number
- people
- Other sensitive information (wheelchair at the entrance, etc...)
In particular, without asking the homeowner, the images should only be taken from a maximum height of 180cm above ground. No photos are allowed over the fence without permission.
The pictures may be taken without permission from publicly accessible roads, paths and areas.
Technical specification
Resolution
The image resolution depends on the object being photographed and can have slightly different resolutions within an object.
The resolution of the facades in the pedestrian area should not fall below 5cm per pixel.
For historical buildings, 1cm per pixel is recommended.
Format
Pictures in Tiff format are of the best quality. However, due to the spread, *.png or Jpg images should be used in uncompressed (lossless) form.
Color depth
The 24-bit color depth is suggested. Although textures can be created with significantly fewer colors that reflect the nature of the facades, you have to remember that the result looks bad visually if:
- Terrain texture is missing
- Neighboring textures have significantly different quality (color depth / resolution).
So if you take the good looks of important buildings as a starting point, other objects should also be given textures that are as comparable as possible.
Example
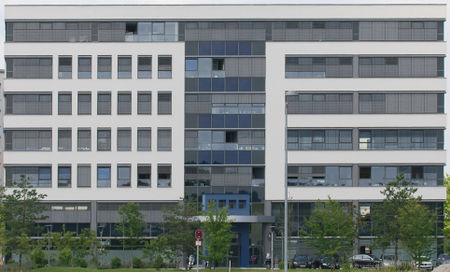
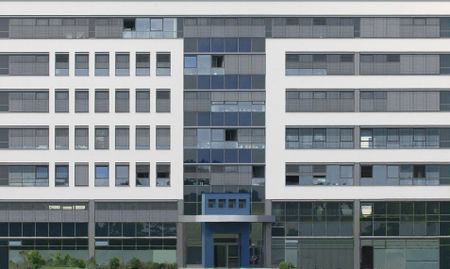
The following texture was created with the Adobe Photoshop stamp tool. No other images were used.
|
|
|---|---|
| Originalaufnahme | Textur |
