WikiProject Bhutan/Thimphu Thromde data building footprints import workflow
Quick Reference
What we need
a) Have a dedicated import account.
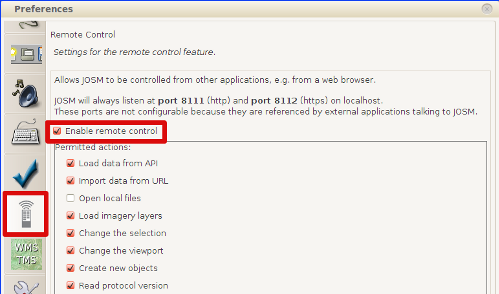
b) Have JOSM Remote control enabled.
c) Have utilsplugin2 JOSM plugin installed.
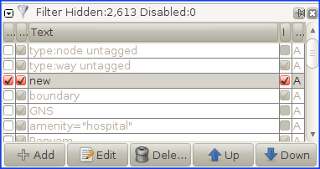
d) Have the following filter ready (recommended):
- new
Steps
1) Choose a task in the HOT Tasking Manager that is not adjacent to any task where another user is working at the moment. Open the OSM data and the Thimphu Thromde building footprints layers, and merge them in one layer. Open the Bing imagery and the Mapbox imagery.
For each Thimphu Thromde building footprint:
2.1) Align it with the Bing imagery (use Mapbox when needed). If that building seems not to exist (a building in the middle of nowhere, not present in Bing nor Mapbox), then delete it.
2.2) If there are two Thimphu Thromde footprints for the same building, choose the best one and delete the other one.
2.3) If the building is already mapped in OSM, check if the Thimphu Thromde footprint is of better quality. If it is, replace the OSM building with Replace geometry tool (CTRL + Shift + m). Otherwise, ignore the Thimphu Thromde footprint (delete it) and go to the next one.
Keep the OSM original building tags, unless you are sure they should be changed.
2.4) For those buildings that are over the limits of the downloaded area, you have to download the small area it covers, in order to avoid unwanted duplicities.
3) During all the process, we will follow an order - from North to South and West to East, for example -, so we don't leave any building behind. You may filter the data to see only the Thimphu Thromde buildings, using the new filter.
4) When finished, run the JOSM validator, so you may correct some errors/warnings berore uploading.
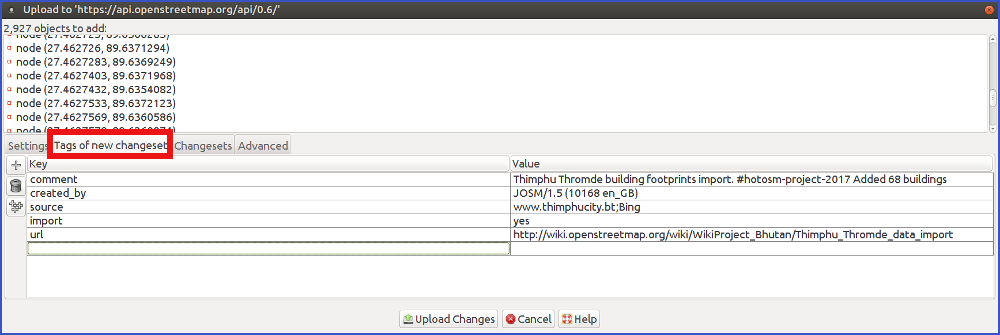
5) Upload the result with the specific OSM user account and the specific changeset tags:
comment=Thimphu Thromde building footprints import. #hotosm-project-2017source=www.thimphucity.bt;imageryProviderimport=yesurl=http://wiki.openstreetmap.org/wiki/WikiProject_Bhutan/Thimphu_Thromde_data_import
where imageryProvider = Bing or Mapbox or Bing;Mapbox, depending the imagery provider/s used while importing the data.
You should add any additional comment to the comment tag.
6) You are ready to start a new task. If you want to leave it here, don't forget to switch back to your regular OSM account now, to avoid using it for purposes other than importing!
Before you actually start with any task
a) You need to create one specific import OSM user account for this import (if you don't have one yet). You will need a different email account than the one you used to create your regular user account.
b) Open JOSM and check that you have enabled the Enable remote control option in the JOSM preferences (F12):
c) Install the following JOSM plugin (if you don't have it yet):
d) We will have the following useful filter ready to work with the data (recommended):
- new
Workflow steps
Getting OSM data and Thimphu Thromde building footprints
1) Open JOSM editor.
2) Go to the Thimphu Thromde building footprints import project in the HOT Tasking Manager.
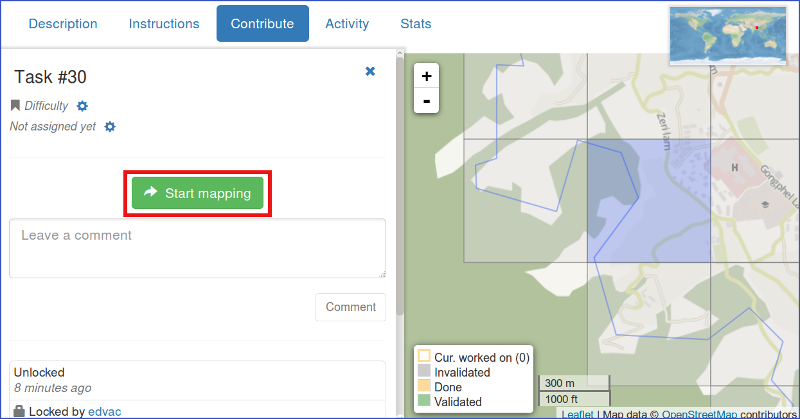
3) Now, we will choose one task.
We will be careful that nobody is working in any adjacent task. This is to avoid importing a building that is over the limit between the two tasks.
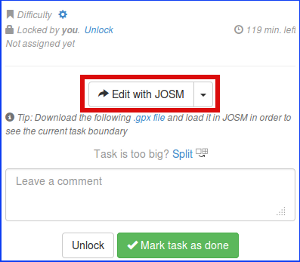
4) Click on Edit with JOSM:
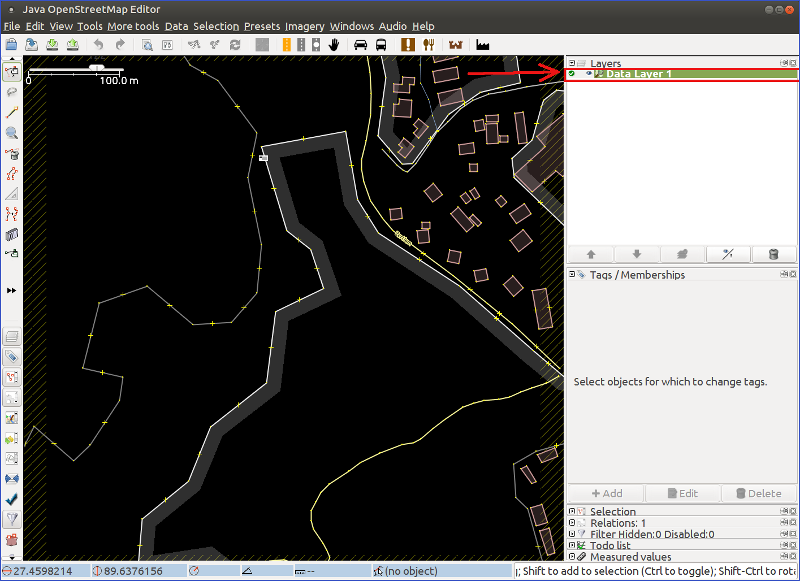
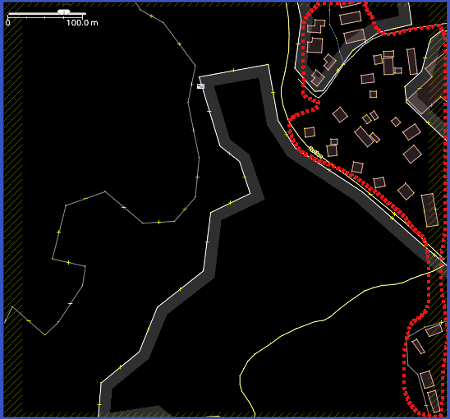
... and you will download the OSM data for that task area into one layer called Data Layer 1 (or similar):
In this example, we can see that there are some buildings already mapped in OSM (area surrounded by red dots):
We will have to check those buildings against the Thimphu Thromde ones, and eventually merge some of them.
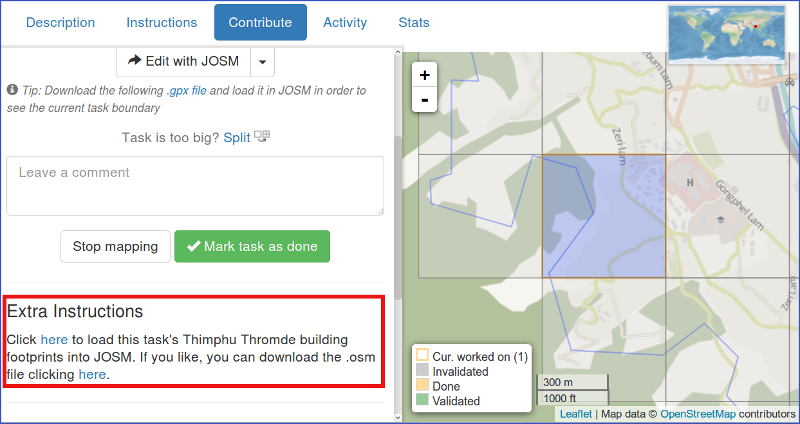
5) We will now download the Thimphu Thromde building footprints for that same area. Go to Extra Instructions...:
... and click to load the building footprints into JOSM:
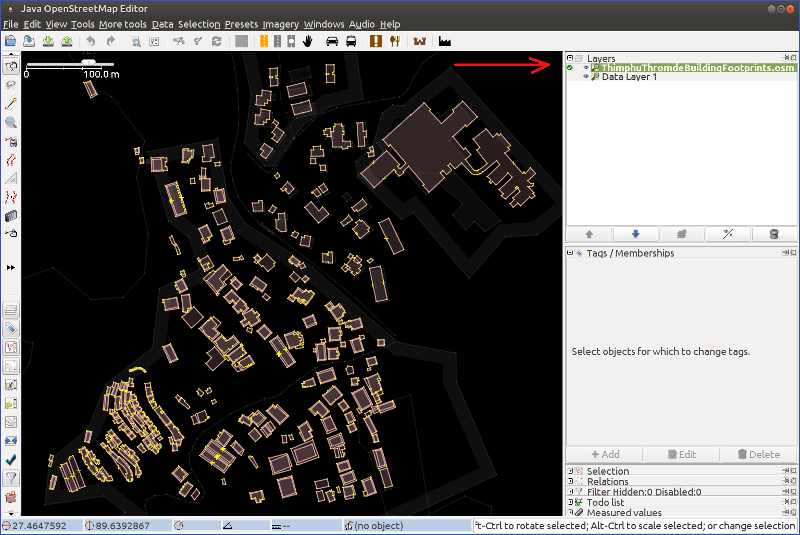
The building footprints will be loaded in a new data layer, called ThimphuThromdeBuildingFootprints.osm:
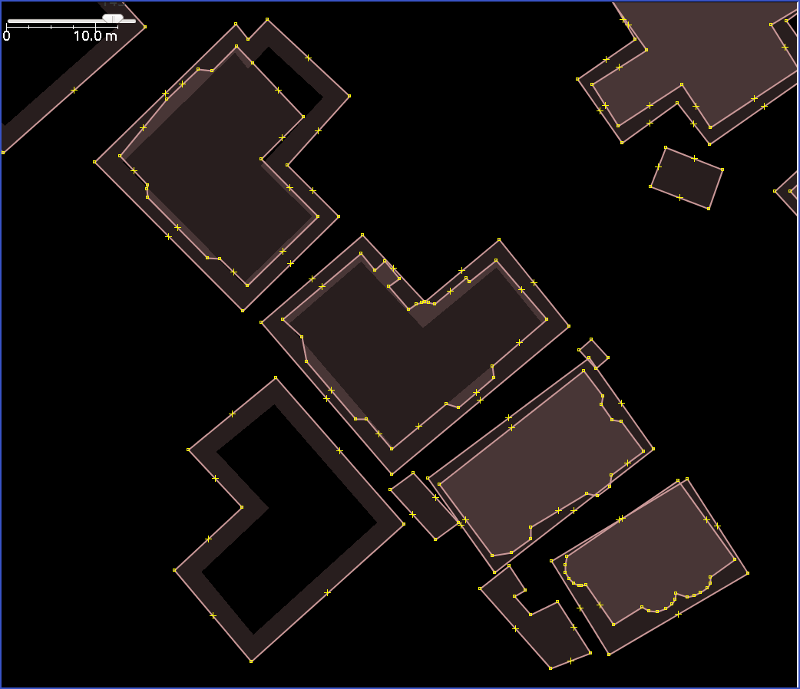
In this example, we see that some of the buildings have two different footprints. For each of them we will have to choose the best of the two footprints, and ignore (delete) the other one:
6) We merge both layers into one layer: CTRL + m
7) Finally, open the Bing imagery and Mapbox imagery.
Working with the data
The procedure will generally follow these steps for each building: checking the correctness and alignment of the building against Bing, choosing one of the two footprints when we have two polygons for the same building (only when there are two footprints), and merging with an already existing footprint in OSM (only when there is one such building and it is of lower quality than the Thimphu Thromde one).
Checking the correctness and alignment of the building against Bing
We'll check the alignment of the footprints against Bing. But Mapbox seems to be more recent, so we'll use Mapbox sometimes to check that the building is well aligned when it is not present in Bing but it is present in Mapbox. Sometimes, rarely, we can find a building that seems not to exist. In that case, we will delete that footprint, so we don't import it.
When a building is not well aligned, all buildings around will be wrongly aligned too, so you may like to select a bunch of footprints to align all together.
Please: remember that a footprint should be aligned by its ground perimeter, not its roof.
Two building footprints for the same building
For each building that has two different footprints, we will choose the one we think is of better quality and delete the other one.
Building is already mapped in OSM
First, if there are two Thimphu Thromde building footprints for that building, we will choose the best of both and delete the worst one, as explained before.
Then, if the Thimphu Thromde footprint geometry is better than the OSM one, we will replace it. To do that, we will select both ways and apply the Replace geometry tool (CTRL + Shift + g). Of course, if the OSM way is better quality, we will simply delete the Thimphu Thromde footprint.
If there is any conflicting tag (a tag that has a different value in the OSM way and the Thimphu Thromde way), we will keep the OSM value, unless we are completely sure the Thimphu Thromde value is more correct. If the source tag has a different value for each footprint, we'll keep both values.
Buildings on the border of the downloaded area
As we said before, we will always choose a task that is not adjacent to a task where somebody is already working.
For those buildings that are over the downloaded data limit (task limit) it may happen two things:
a) the building has been imported by the user who completed the adjacent task. In that case, we will just ignore (delete) the building and proceed with the next. Obviously, this will happen with most (if not all) the buildings in that limit, but we should check one by one just in case.
b) the building hasn't been imported. In this case, we will download the (small) area that covers all the building, so we make sure that the building is not yet mapped in OSM, therefore avoiding a duplication. In case it is mapped in OSM, we will proceed as in the Building is already mapped in OSM section. Bear in mind that for the Replace geometry (CTRL + Shift + m) tool to work, we need to download the area covered by both the Thimphu Thromde and the OSM footprints.
Clouds or low resolution aerial imagery
There isn't any area with clouds or lack of high resolution Bing imagery for this project.
Before uploading the changes
During all the process, we need to check all the buildings that we will import, aligning/correcting/replacing/deleting those footprints that need so. We will follow an order, from North to South and West to East, for example, so we don't leave any building behind.
You may filter the data to see only the Thimphu Thromde buildings, using the new filter:
When finished, we will run the JOSM validator, so we can correct any error. Typically, they could be of the kind Crossing buildings and Building inside building. Both warnings mean that there are buildings with two or more footprints, that have to be fixed.
When all issues have been fixed, we are ready to upload (import) the new data.
Uploading the new data to OSM
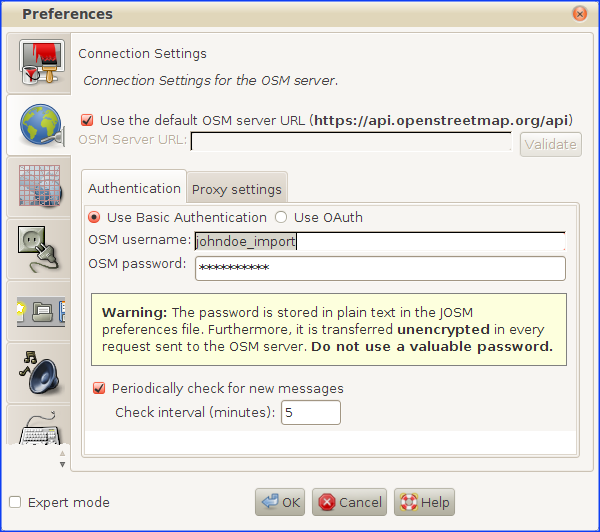
1) As with any import, we need to upload the data with our special OSM import account, and therefore we need to make sure we changed the user in the preferences (F12):
2) Now, we can click on the Upload button. If we get errors and/or warnings from the validator, we will need to solve them before we upload.
3) Once we have dealt with all eventual issues, we only have to set the following changeset tags:
comment=Thimphu Thromde building footprints import. #hotosm-project-2017source=www.thimphucity.bt;imageryProviderimport=yesurl=http://wiki.openstreetmap.org/wiki/WikiProject_Bhutan/Thimphu_Thromde_data_import
where imageryProvider = Bing or Mapbox or Bing;Mapbox, depending the imagery provider/s used while importing the data.
You should add any additional comment to the comment tag.
And now we (finally!) upload the data.
You may now proceed with another task. In case you don't want to continue for now, DON'T FORGET TO GO TO JOSM PREFERENCES (F12) AND SWITCH BACK TO YOUR REGULAR OSM USER. It's quite common to leave the import user account active and go mapping other things that you should map with your regular OSM user account.
