uMap/Guide/Draw a polygon
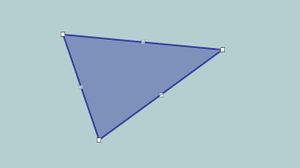
This article is about creation and modification of a polygon.
The polygon may show the border of an area, but also the area itself.
A polygon may have multiple line segments, geometrically separated parts are possible. A polygon may be changed completely afterwards, the geometry and administrative properties.
New polygon
This is the procedure to create a new polygon on the map.
- Step 1: Start edit by
or
Ctrl+E - Step 2: Select on the right side Draw a Polygon
or
Ctrl+P - Step 3: Move the cursor to the first point and click. Continue for subsequent vertices of the polygon.
- Step 4: Click once more on the last vertex to indicate that the polygon is ready..
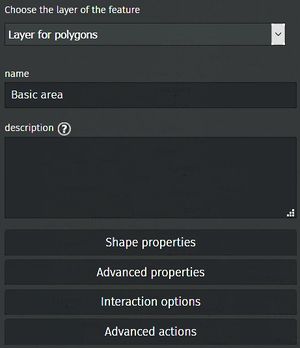
This opens the panel to modify the properties of the polygon.
- Step 4: Check the layer and modify if necessary.
- Step 5: Enter the name of the polygon and potentially the description. The description may contain formatting.
The other options serve for further polygon details.
- Shape properties: See Customize the display of a polygon.
- Advanced properties: Shows options for a default zoom level and advanced display options. See Customize the display of a polygon.
- Interaction options: See Configure label and popup.
- Advanced actions: Shows an option to delete the polygon and an option to modify the polygon to a line.
The system shows at the same time with the panel for polygon properties an extra icon. Underneath the new polygon icon we see
to add a new geometrically separated part. Detail: here
Modification of a polygon
For all modifications on a polygon : Start Edit with or
Ctrl+E.
Click the polygon and the left icon of ![]()
Toggle Edit mode.
The system shows the vertices of the polygon and helper vertices in between.
The panel to modify the polygon properties and appear too.
More / Less vertices
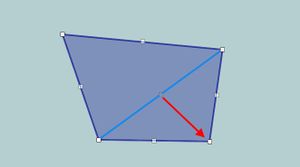
- Add a vertex to an existing polygon :
- Select a helper vertex and drag it to the intended location.
- The polygon segment is split and shows on each segment new helper vertices.
- In this way additional vertices can be created.
- Remove a vertex from the polygon :
Holes and islands
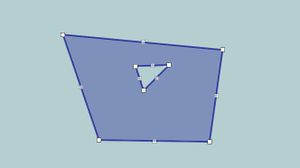
- Add a hole in the polygon:
For an unfilled polygon click on the border for the first vertex and move this later to the correct location
- An island in the hole:
- Same procedure as creation of a hole.
Multi polygon
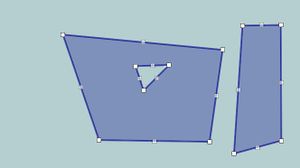
The polygon does not have to have a single border. Multiple separated border are possible.
- Select icon
and add the extra border by clicking all subsequents vertices of this border.
- Click once more on the last vertex to indicate that the polygon is ready..
A subsequent modification shows now ![]() .
The icons on the right mean:
.
The icons on the right mean: Delete this shape and Extract shape to separate feature and Start a hole here.
The procedure is also valid for adding holes in an area.
Split polygon (administrative)
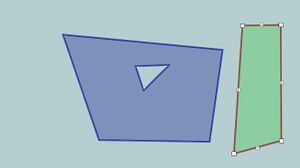
A part of a multi-polygon can be designated as a new polygon in order to have its own name, color and other property values.
The example shows the effect if the right part is selected to be separated. Other colors have been added to show the separate status.
Location
- Drag the polygon with the left mouse button. Moves all features of the polygon: borders and islands.
Options by right mouse
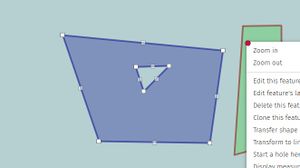
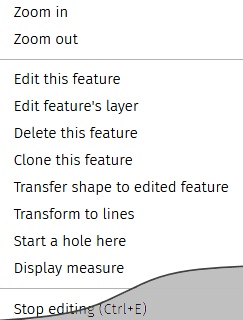
A click by the right mouse on a polygon shows a context sensitive menu.
The menu allows specifically:
Transfer shape to edited featureTransform to linesClone this feature
This menu is shown when the left polygon in the picture is selected for edit (![]() ) and subsequently in the right polygon a click with the right mouse (The location of the mouse is indicated with a red dot).
) and subsequently in the right polygon a click with the right mouse (The location of the mouse is indicated with a red dot).

Save